1
Service Manual – CS7000
Solution System
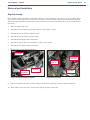
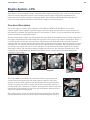
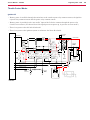
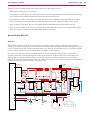
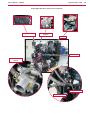
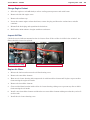
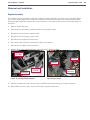
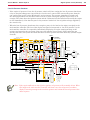
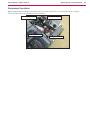
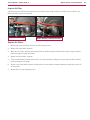
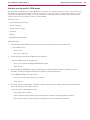
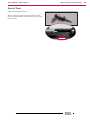
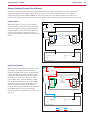
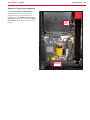
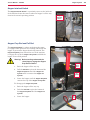
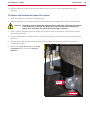
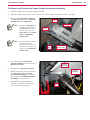
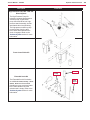
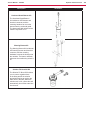
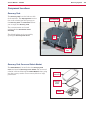
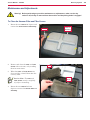
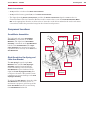
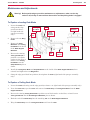
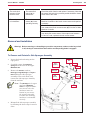
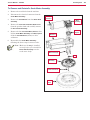
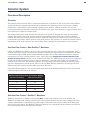
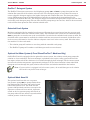
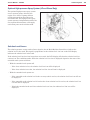
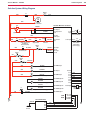
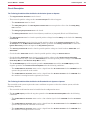
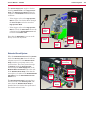
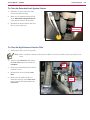
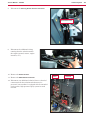
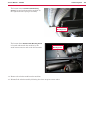
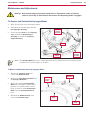
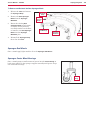
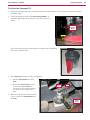
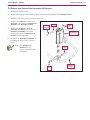
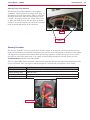
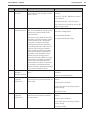
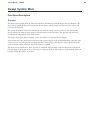
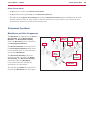
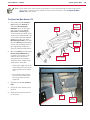
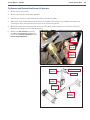
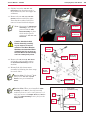
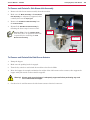
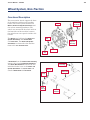
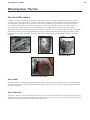
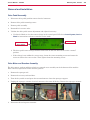
To Remove and Reinstall the Solution Shutoff Valve
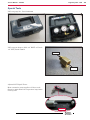
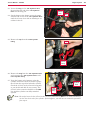
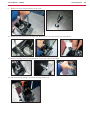
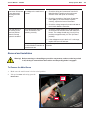
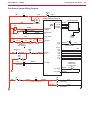
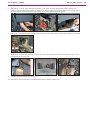
1. Drain the solution tank.
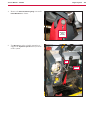
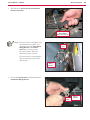
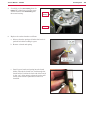
2. Remove the valve shield.
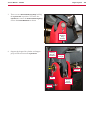
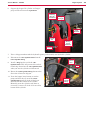
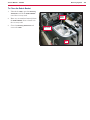
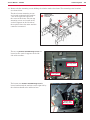
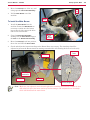
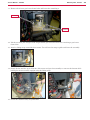
3. Remove the nuts, washers and U-bolts
holding the Solution Filter Assembly to
the mounting plate.
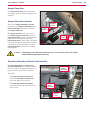
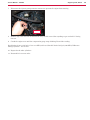
Hose to Solution
Solenoid Valve
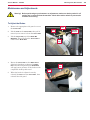
Note: Place a suitable container
underneath the shutoff
valve to catch any
solution that may leak
from the hoses or filter.
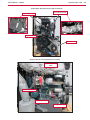
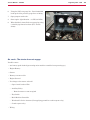
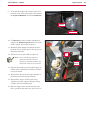
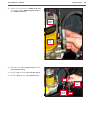
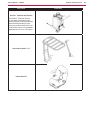
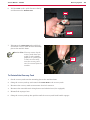
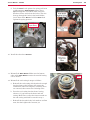
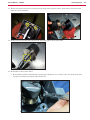
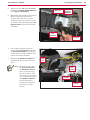
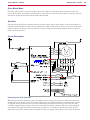
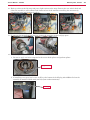
4. Loosen the clamp holding the
Connecting Hose to the Solution Shutoff
Valve, then disconnect the Connecting
Hose and attached Solution Filter
Assembly from the Solution Shutoff
Valve.
Clamp
(typical)
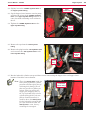
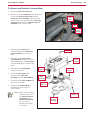
Solution
Shutoff
Valve
Solution Filter
Assembly
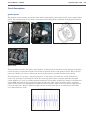
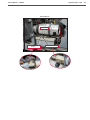
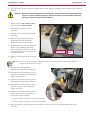
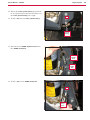
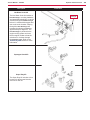
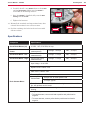
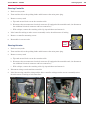
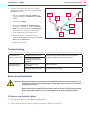
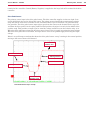
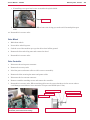
5. Carefully unscrew the Solution Shutoff
Valve from the solution tank.
6. Reinstall the Solution Shutoff Valve by
following the above steps in reverse
order.
Connecting
Hose
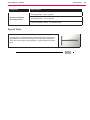
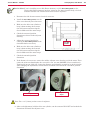
Service Note: Apply Loctite® “No More Leaks” White Threaded Plastic Pipe Sealant to the
Solution Shutoff Valve threads before installing it into the solution tank. Make sure
the Solution Shutoff Valve is oriented correctly on the tank so the barbed fitting on the
Solution Shutoff Valve aligns with Connecting Hose on the Solution Filter Assembly.
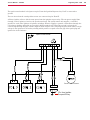
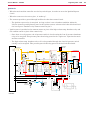
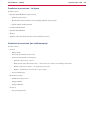
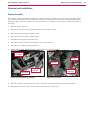
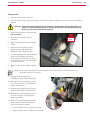
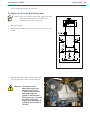
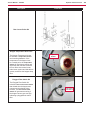
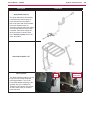
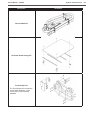
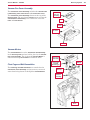
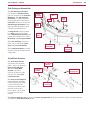
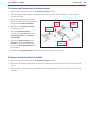
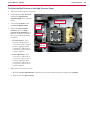
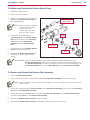
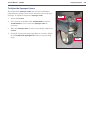
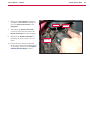
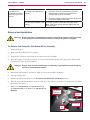
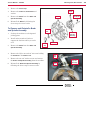
To Remove and Reinstall the Solution Filter Assembly
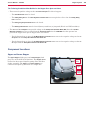
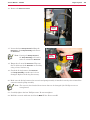
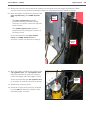
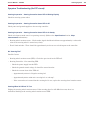
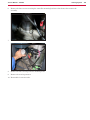
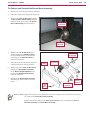
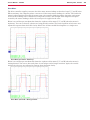
1. Close the Solution Shutoff Valve.
2. Remove the nuts, washers and U-bolts holding the Solution Filter Assembly to the mounting plate.
Note: Place a suitable container underneath the filter to catch any solution that may leak from the
filter or hoses.
3. Loosen the clamp holding the Connecting Hose to the Solution Filter Assembly, then remove the Connecting
Hose from the Solution Filter Assembly.
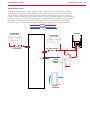
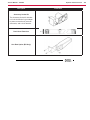
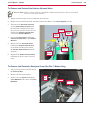
4. Loosen the clamp on the Hose that runs from the Solution Filter Assembly to the Solution Solenoid Valve
and remove the Hose from the Solution Filter Assembly.
5. Remove the Solution Filter Assembly from the machine.
6. Reinstall the Solution Filter Assembly by following the above steps in reverse order.
324