1
3. ASSEMBLY & INSTALLATION
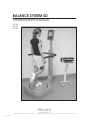
The Biodex Balance System SD is shipped in a single carton. Except for the printer, which the user
must install as explained below, the entire system is factory assembled and ready to operate.
If desired, the system can be configured for IBM computer compatibility, allowing the foot plate
to be used like a joystick for interactive video game use. Joystick options are discussed in the
System Utilities chapter.
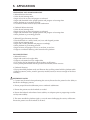
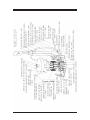
PRINTER INSTALLATION
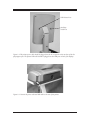
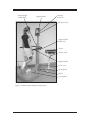
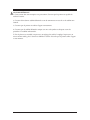
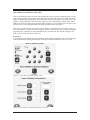
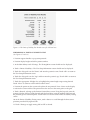
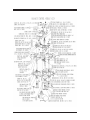
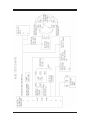
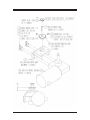
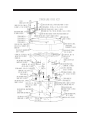
(See Figures 3.1 and 3.2)
NOTE: It may be necessary to have the help of another person to steady the printer during the following
procedure.
1. Refer to the supplied printer manual to unpack the printer and ensure that it has not been
damaged by shipping.
2. Position the printer on the printer stand as shown.
3. Locate the black printer power cable. Plug the small end into the power receptacle on the back
of the printer. Do not connect any other equipment to this receptacle.
4. Plug the AC plug end of the power cable into power cable port on the back, lower base of the
Balance System.
5. Locate the white USB cable. Connect one end of the cable to the USB port on back of the
Balance System display. Connect the other end of the cable to the USB port at the back of the
printer directly above the power cable port.
6. Ensure both cables are positioned so that they will not interfere with the patient or get caught
in the Balance System platform or handles.
7. Insert several sheets of paper into the printer paper holder. Insert the paper holder into the
top of the printer so that the open end interlocks with the printer and the paper faces out
toward you.
8. With power ON to the Balance System, press the <Power ON> switch on the printer. Ensure
the printer's green Ready LED comes on to indicate the printer is receiving power. Refer to the
supplied printer manual for additional printer information.
— 3-1 —
ASSEMBLY & INSTALLATION