1
Ground source heat pump
ESIE13-03 | Part 3. Repair
2. Unit specific repair procedures
2.2.12.2 Procedure
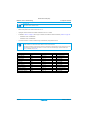
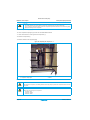
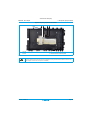
INFORMATION
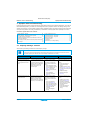
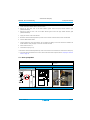
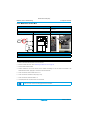
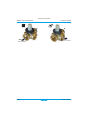
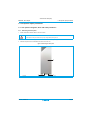
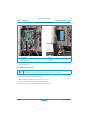
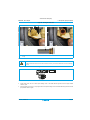
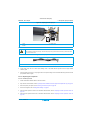
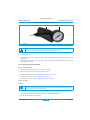
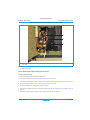
Note the position of the backup heater, water pump, pressure relief valve and the corrugated pipe. After installation of
the backup heater, it must be possible to remove the thermal protector backup heater without removing the backup
heater.
Removal
1.
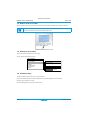
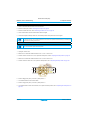
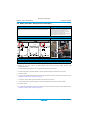
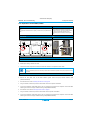
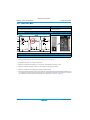
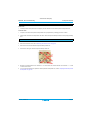
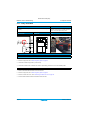
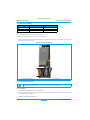
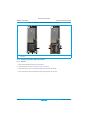
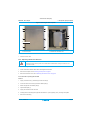
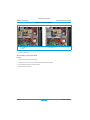
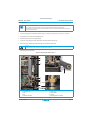
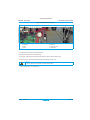
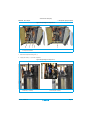
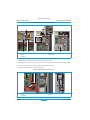
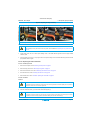
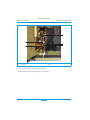
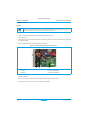
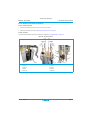
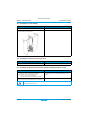
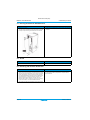
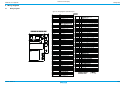
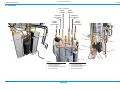
Unplug connectors X33A (1) and X85A (2) from the A1P PCB (3).
2.
Loosen and remove the 2 screws (4) that fix the fixation plate (5).
3.
Detach the right side of the fixation plate (5).
4.
Flip the fixation plate (5).
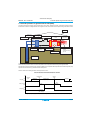
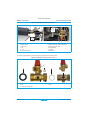
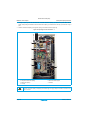
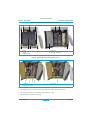
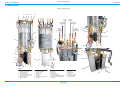
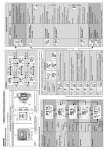
Figure 33 - Replacing the water pump - 1
4
4
2
3
1
5
1. X33A
4. Screw
2. X85A
5. Fixation plate
3. A1 PCB
5.
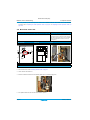
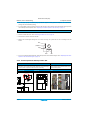
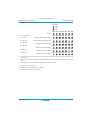
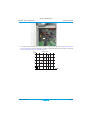
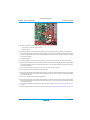
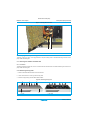
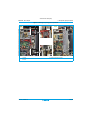
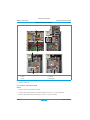
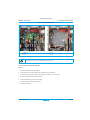
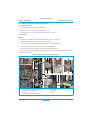
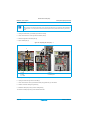
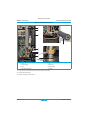
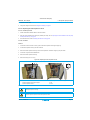
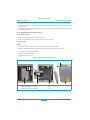
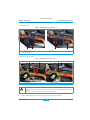
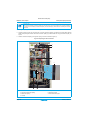
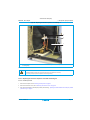
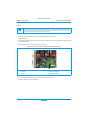
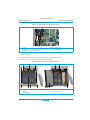
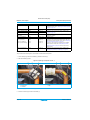
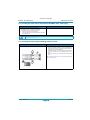
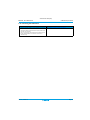
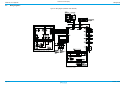
Unplug connector X25A (1) from the A1P PCB (2).
6.
Unplug connector X16A (3) from the A1P PCB (2).
7.
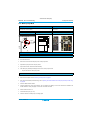
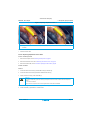
Loosen and remove the screw (4) that fixes the water pump ground wire (5) to the chassis.
8.
Guide the connectors through the grommet (6).
9.
Release the water pump wires (7) from the cable guide (8).
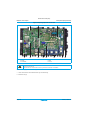
10. Remove the water pump wires (7) from behind the switch box.
Page 114
13/01/14 | Version 1.0