1
Maintenance Procedures
EvitaXL
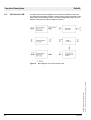
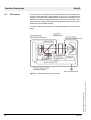
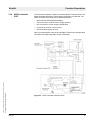
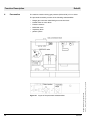
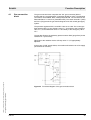
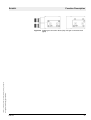
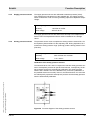
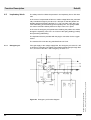
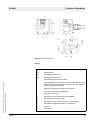
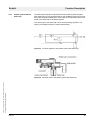
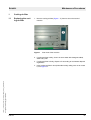
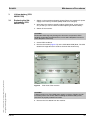
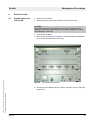
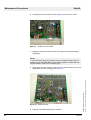
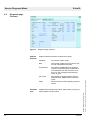
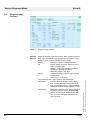
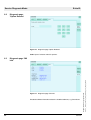
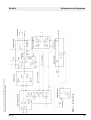
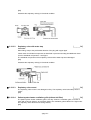
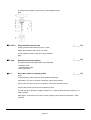
6. Carefully remove the real-time clock (Figure 9/1) from its IC socket.
Figure 9
Detail of the CPU PCB
7. Dispose of the spent real-time clock according to local waste disposal
regulations.
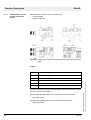
NOTE
If, in the next work step, the real-time clock is not fitted correctly it will not
display the time and date. Make sure the fitting position is correct when fitting the real-time clock in the next work step.
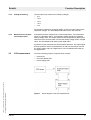
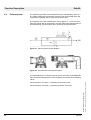
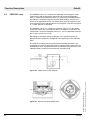
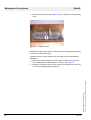
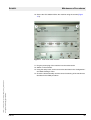
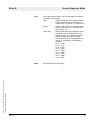
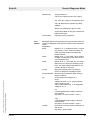
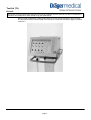
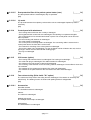
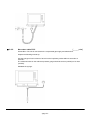
Figure 10 Real-time clock
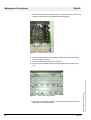
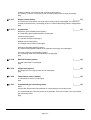
9. Push the CPU 68332 PCB into the machine.
64
5664.590
Version 1.1_ Released_Printed on_09.03.06_W5664590_Wartung_RealTimeClock.fm
All rights reserved. Copyright reserved.
8. Firmly push the new real-time clock into its IC socket, making sure the fitting position is correct (coding), see Figure 10.