1
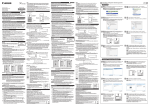
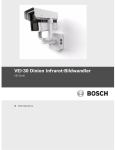
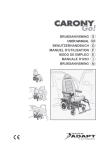
Presenting Printed Materials
Camera Head
1.
Arm
1.
1.
Adjusting the arm and camera head
Adjust the arm and camera head in accordance with the size of
the object.
2.
● Ensure that the camera head is positioned at the centre of the
object.
2.
● The arm is catered to capture an A3 landscape equivalent object
when fully extended.
[FOCUS] button
[ZOOM]
button
2.
Adjusting lighting
Adjust such that the object is evenly lighted.
[BRIGHT] button
3.
Adjusting zoom
OUT
Adjust such that the portion of the object to
be captured occupies the full screen.
IN
ZOOM
(Example) Too little zooming.
4.
Adjusting brightness
BRIGHT
AUTO
SD LEFT&RIGHT
SD DEFAULT
(Example) Poor lighting.
5.
Adjust when the screen is too bright or too
dim.
Press the [AUTO] button and the appropriate brightness will be adjusted automatically.
Adjusting focus
To adjust the focus when it is out.
FOCUS
AUTO
SD UP&DOWN
Press the [AUTO] button and the focus will
be adjusted automatically.
(Example) Focus is out.
Note
● For materials with a mixture of portrait and landscape printed
materials, it may be more convenient to save either one of the
orientations under the user setting. (☞ Page 18 ‘Saving the Settings (User Setting Registration)’)
(Example) Correctly adjusted.
E-11
English
Up to A3 landscape equivalent (400 mm x 300 mm) printed materials can be captured.