1
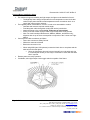
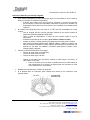
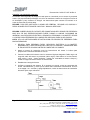
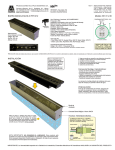
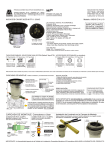
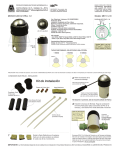
Document No: 9100-127-1327-99 Rev V Pendant Mount Installation Steps: For maximum long term reliability and light output, the light must be installed in free air. o The High Bay fixture design incorporates an over-temperature control circuit that reduces input power should internal temperatures reach a maximum level. As a result, light output may be reduced. The High Bay fixture is threaded for 3/4” NPT in order to be assembled to conduit. o Calculate and measure required conduit length. o Feed the power cable through the conduit and into the junction box. o Attach the fixture to the conduit (using Teflon tape or pipe sealant). o Insert 1/4-20 anti-rotation screw in order to secure the fixture to the conduit. o Note: For model numbers HExExxxxxxx, HBExxx, HB6xxx, and HB7xxx only, alignment bar on top of fixture corresponds to major axis of the “narrow oval” light pattern. Connect power cable conductors as follows: o Green wire connects to Safety Ground. o White wire connects to Neutral o Black wire connects to Live o When using 208V (two 120V phases) connect the black wire to one phase and the white wire to the other phase. Since the light fixture does not have an internal fuse on the white wire (as it is normally the neutral), a fuse may be connected in series with the white wire if required. Restore power and verify operation. If available, select light output via the toggle switch on topside of the fixture. Page 3 of 12 1501 Route 34 South, Farmingdale, NJ 07727 Tel: (732) 919-3119 Fax: (732) 751-5778 www.dialight.com Dialight de México S.R.L de C.V. Calle Lirios s/n Col. Carlos Pacheco, Ensenada Baja California, México C.P. 22830 +52 (646) 156-70-80