1
OPERATION AND SERVICE INFORMATION
Read all of Manual to become thoroughly familiar with this vehicle. Pay particular attention to all Notes, Cautions and Warnings
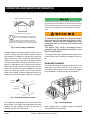
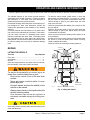
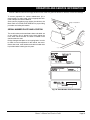
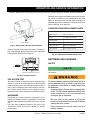
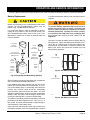
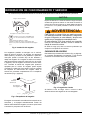
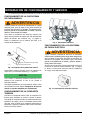
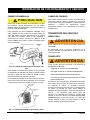
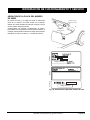
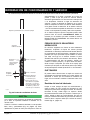
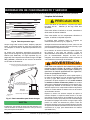
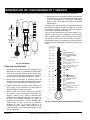
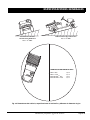
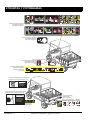
To replace the tail and brake light bulb, roll the rubber
bezel from around the edge of the taillight and remove
lens. Install replacement bulb and replace lens.
Roll Rubber
Bezel Away
From Body
Tire/wheel style
may vary
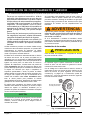
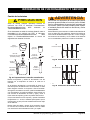
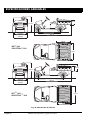
'Cross Sequence'
1
3
3
4
Tail/Brake
Light
'Cross Sequence'
1
2
4
5
Rear
Fender
2
Ref Whi 2
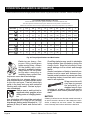
Fig. 15 Wheel Installation
Ref Tlr 2
Fig. 17 Tail and Brake Light Bulb Replacement
LIGHT BULB REPLACEMENT
FUSE REPLACEMENT
To reduce the possibility of premature bulb failure, do not
touch new bulbs with bare fingers. Use clean, dry tissue
or paper towel to handle the glass portion of the bulb.
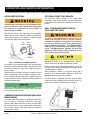
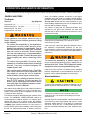
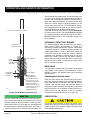
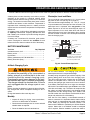
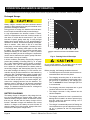
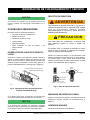
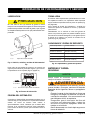
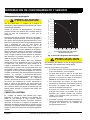
For vehicles with headlights mounted in cowl, locate the
two screws on backside of cowl that secure headlight
(Ref Fig. 16 on page 13). Remove screws, pull headlight
out and disconnect wires. Connect wires to new headlight, install in cowl and secure with screws previously
removed.
Turn Signal Lens
Inside
of Cowl
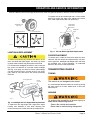
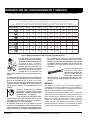
To replace fuses, locate the fuse block under the driver
side seat. Pull out old fuse and replace with a new automotive type fuse. Headlight and taillight bulbs and fuses
are available from a local Distributor, an authorized
Branch or the Service Parts Department.
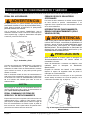
TRANSPORTING VEHICLE
TOWING
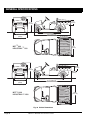
This vehicle is not designed to be towed.
It is recommended that the vehicle be moved by placing
the entire vehicle on a trailer, flatbed truck or other suitable transport.
Headlight
Bulb
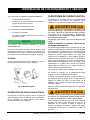
HAULING
Turn Signal
Housing
Ref Hdr 2
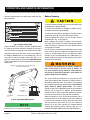
Fig. 16 Headlight and Turn Signal Bulb Replacement
To replace the turn signal light bulb, support turn signal
housing from backside of cowl while removing two
screws securing lens. Install new bulb and replace lens.
To reduce the possibility of severe injury or
death while transporting vehicle:
Secure the vehicle and contents.
Never ride on vehicle being transported.
Owner’s Manual and Service Guide
Page 13