1
-
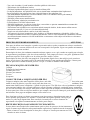
Gebruik in het bakblik geen metalen voorwerpen.
Gebruik alleen de onderdelen die door de fabrikant worden aanbevolen.
Sluit de broodbakmachine aan op 230 volt wisselstroom.
Gebruik de broodbakmachine niet meer als deze gebreken vertoont, maar laat deze door een erkend vakman testen.
Dek de broodbakmachine niet af met een handdoek of ander voorwerp.
Doe nooit meer dan de aangegeven hoeveelheid in de machine, omdat het deeg anders over het bakblik heen
loopt met alle gevolgen van dien.
- Zorg ervoor dat kinderen niet met dit apparaat spelen.
- Het is niet zonder gevaar om dit apparaat te laten gebruiken door kinderen of personen met een geestelijke of lichamelijke handicap, of met te weinig ervaring of deskundigheid. De voor de veiligheid van
deze gebruikers verantwoordelijke persoon dient ze duidelijke instructies te geven voor of ze te begeleiden bij het gebruik van dit apparaat.
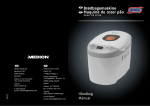
PRINCESS SILVER BREADMAKER XL
ART. 151941
Read these instructions thoroughly first and keep them for future reference. Check that your domestic electricity
supply matches that of the appliance. Only connect this appliance to an earthed socket.
This fully automatic bread maker mixes and kneads the dough, bakes the bread and then switches to the
stay-warm function (to keep the bread appetisingly fresh and crispy). Fresh bread every time, just as you like it.
Also suitable for special diets. Crust colour can be set to light, medium and dark.
This unique bread maker comes with 10 fixed digital programmes, timer (wake up to the aroma of freshly baked
bread), large LCD screen, removable baking tin with non-stick coating and 2 mixers for the perfect results every
time. With measuring cup and measuring scoop.
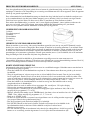
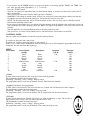
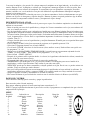
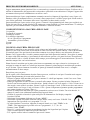
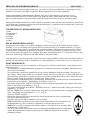
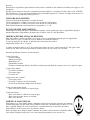
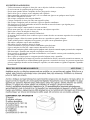
BREAD MAKER PARTS
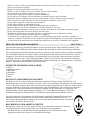
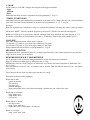
1) lid
2) CONTROL PANEL
3) baking tin
4) dough hooks
5) housing
6) feet
USING THE BREAD MAKER
Place the machine on a sturdy, flat and non-flammable surface (not on a plastic table cloth for example) and at a
safe distance from an oven or stove or other heat sources. Keep a distance of at least 5 cm between the machine
and the walls. Never place the machine on a damp surface and do not use the machine out of doors. The
machine will heat up while in use, so keep children at a safe distance. You are advised to use oven gloves or
pot- holders to remove the hot baking tins from the machine. Do not use any metal objects (e.g. knives) to
handle the baking tin as this will damage the non-stick coating. Use the machine with dry hands only.
Before using the baking tins and the kneading arms for the first time, wash them carefully in warm soapy water
and dry them off. The machine may give off a little smoke when used for the first time. This is normal for new
heating elements and will stop after a short time.
STEP BY STEP DESCRIPTION
The whole process is described below in brief on a step by step basis. The terms used will be explained later in
these instructions.
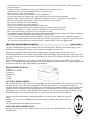
- Take the baking tin out of the breadmaker and put the 2 kneading arms onto the shafts so that they face each
other.
- Weigh the ingredients according to the recipe and place them in the baking tin. First the flour.
Put the yeast in a small hollow in the flour. Then the salt, the butter or oil, and the sugar, all in
a different corner. Pour water or milk along the edges. (the yeast must not come into contact
with the water, the salt or the butter or oil. This is especially important when you set the
baking time with the ‘Timer’ button.)
- Place the baking tin into the breadmaker and press it firmly. The baking tin is now held firmly
in place by the clamps.
- Close the lid and plug it in. 03:30:00 now appears on the display.
- Select the desired programme with the ‘MENU’ button.
- Use the ‘COLOR CONTROL’ button to select the desired browning level (light, medium or
dark). This option is not available with programmes 7, 9 and 10.
10