1
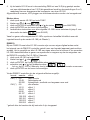
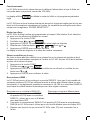
4. In the DMX-OUT plug of the last LE-180 device a XLR plug should be inserted. The
terminating resistance should be 120 Ω and be soldered on connection 2 and 3.
Please contact your supplier if needed.
Shielded wired plugs, XLR plugs and termination resistors are not included.
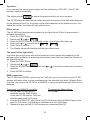
Master-slave configuration:
1. Press the FUNC Button of the first LE-180 device
2. Switch with or to
3. Press the ENTER Button and select with or the status
(MASTER)
4. Press ENTER to confirm
5. Repeat these steps for all LE-180 devices but select at step 3 the status
(SLAVE)
The now all connected LE-180 devices will show synchronously the same light-effect as
selected on the first LE-180 as MASTER.
Managing through the DMX512 controller:
If you have a DMX512 device you need to address every single LE-180 device digitally
to control a certain device. Either you give all devices a single digital address or you
choose to give several devices the same digital address so these devices simultaneously react on the control signal of the DMX512. The LE-180 device has 2 channels.
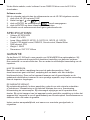
1. Press the FUNC Button of the first LE-180 device
2. Switch with or to
3. Press the ENTER Button, the actual selected address lights-up
4. Select with or the desired address (
)
Warning: The LE-180 has 2 channels, reserve therefore 2 channels
5. Press ENTER to confirm
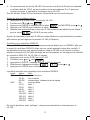
Through the DMX512 you have the following light-effects:
Channel: Value:
Effect:
CH1(*)0-9
No functions
10-49 sound controlled
50-255 automatic, speed goes from slow to fast
CH2(*)0-9
all effects
10-31
effect 1
32-63
effect 2
64-95
effect 3
96-127
effect 4
128-159 effect 5
160-191 effect 6
192-223 effect 7
224-255 effect 8
*: Use here the channels as implemented at instruction 4
Through the Alecto website, under 'software' You can dowload a fixture for the LE-180.
21