1
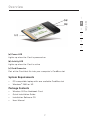
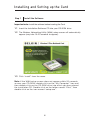
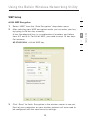
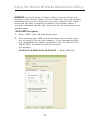
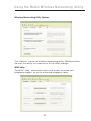
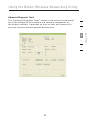
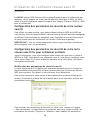
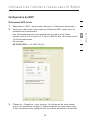
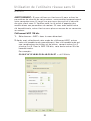
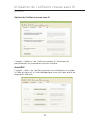
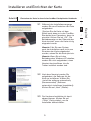
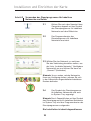
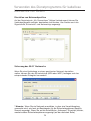
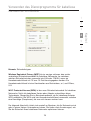
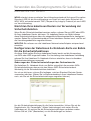
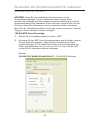
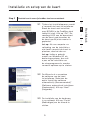
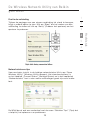
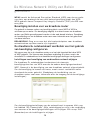
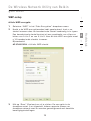
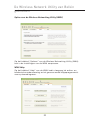
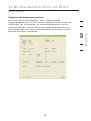
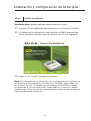
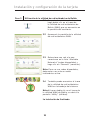
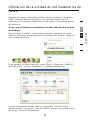
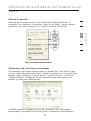
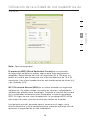
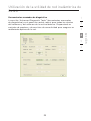
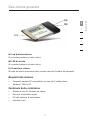
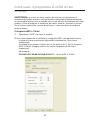
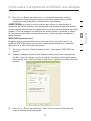
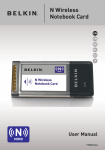
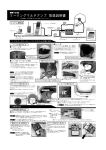
Installing and Setting up the Card
Step 2
Plug the Card into an Available CardBus Slot on your Notebook Computer
2.1 During the install process, you
Note: If your system did not
prompt you to insert your Card
after the installation is completed,
please do so now.
Note: If you are using the
Windows XP operating system,
you will not be prompted to reboot
until after the drivers are installed.
2.2 The wizard will prompt you to
install software for the Card.
Select the “Install the software
automatically (Recommended)”
option. Click “Next”.
2.3 Hardware installation is now
complete. Click “Finish” to close
the wizard.
9
2
3
4
5
6
section
will be prompted to insert your
Card. Firmly insert the Card, label
side UP, into your computer’s
CardBus slot until it stops. Click
“OK”. The power light on the top
of the Card will light when the
Card is inserted properly.
1