1
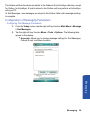
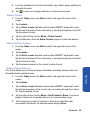
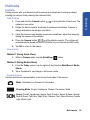
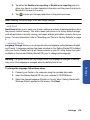
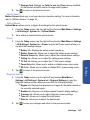
3. Use the virtual QWERTY keyboard to enter the Subject of the appointment or
press the drop down arrow to display a list of selectable preset subjects from
which to choose from.
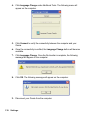
4. Tap the Location field and enter the location information, if necessary.
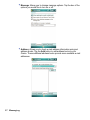
5. Tap the Starts and Ends fields for date and tap a respective date from the on
screen calendar.
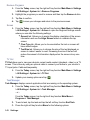
6. Tap the Starts and Ends fields for time and enter a respective time for the
beginning and ending time for the appointment.
7. Select Yes or No from the All Day setting field.
Note: If Yes is selected in All Day the time is automatically removed in the start and end
times to indicate that there is no time limit.
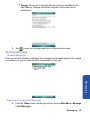
8. Tap the Occurs box to select the frequency of this event’s occurrence.
9. Tap the Reminder box and select either None or Remind me. If the Remind
me option was selected, enter the amount of time before your event which
your Omnia should begin reminding you.
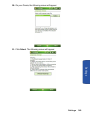
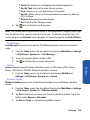
10. Tap Categories and select either Business, Holiday, Personal or Seasonal.
• You can also add a new category, by tapping the New soft key. Use the
keyboard to enter the name and tap the Done soft key when finished.
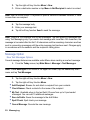
11. Tap the Attendees field to invite others to the appointment from your
contacts. Contacts must have an E-mail address to be added as an attendee.
12. Tap the Status field and select either Free, Tentative, Busy, or Out of office
as your displayed status during the event.
13. Tap the Sensitivity field and select either Normal, Personal, Private, or
Confidential to denote the status of this appointment/event.
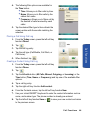
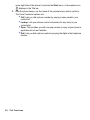
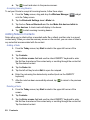
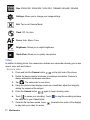
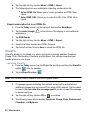
14. Tap
to save your new appointment and return to the previous screen.
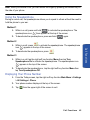
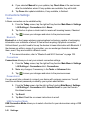
Change the Calendar View
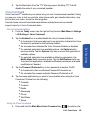
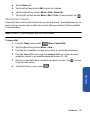
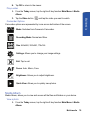
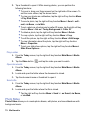
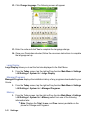
1. From the Today screen, tap the right soft key function Main Menu >
Programs > Calendar. The Calendar defaults to the Agenda view. Press the
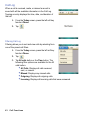
left soft key function Day to toggle and show other views such as:
• Day: Displays the current day with the times of any appointments
blocked out.
101 Personal Organizer