1
Blue Link Solutions™
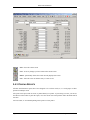
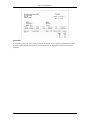
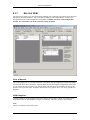
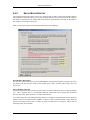
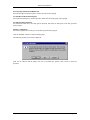
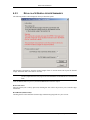
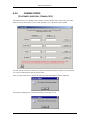
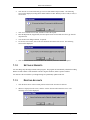
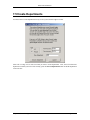
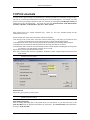
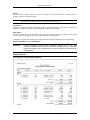
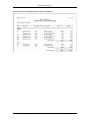
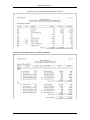
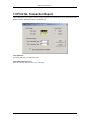
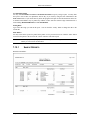
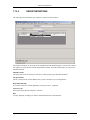
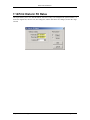
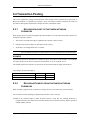
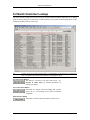
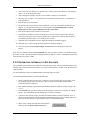
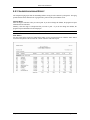
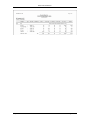
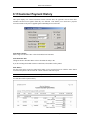
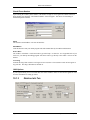
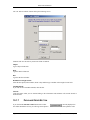
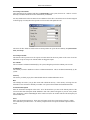
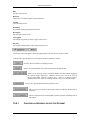
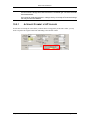
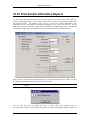
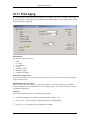
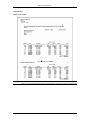
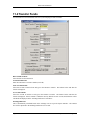
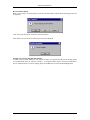
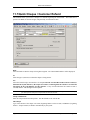
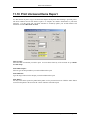
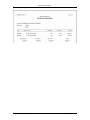
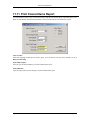
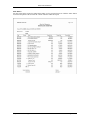
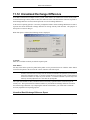
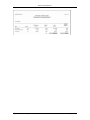
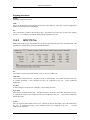
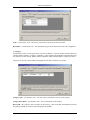
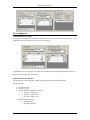
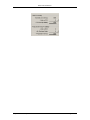
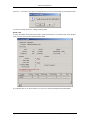
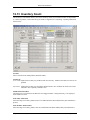
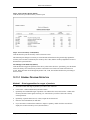
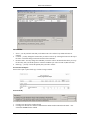
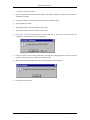
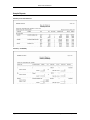
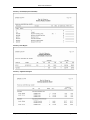
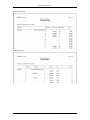
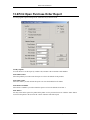
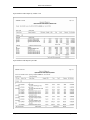
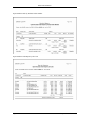
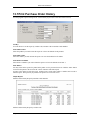
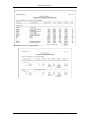
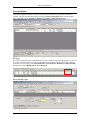
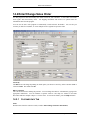
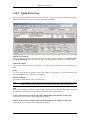
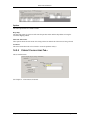
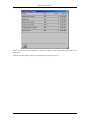
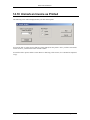
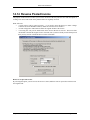
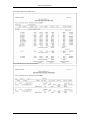
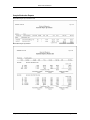
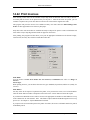
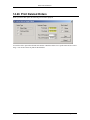
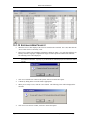
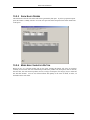
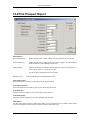
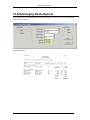
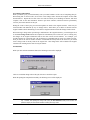
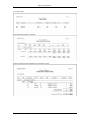
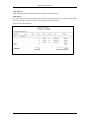
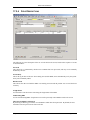
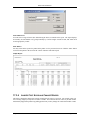
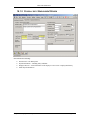
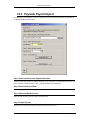
Step 5 – Print Variance Report (button)
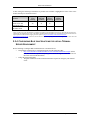
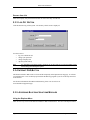
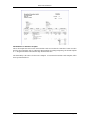
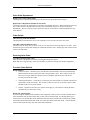
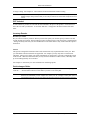
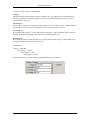
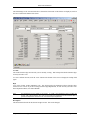
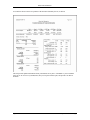
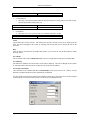
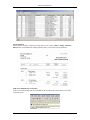
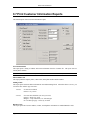
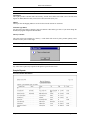
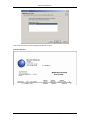
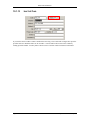
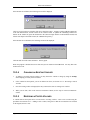
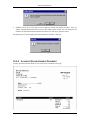
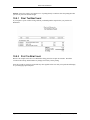
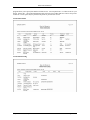
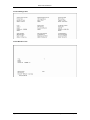
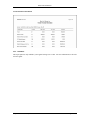
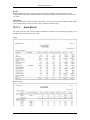
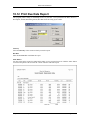
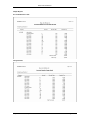
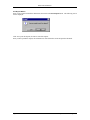
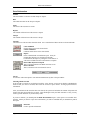
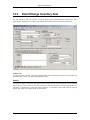
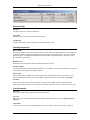
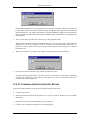
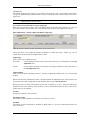
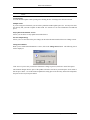
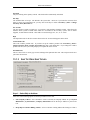
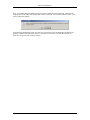
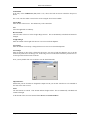
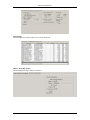
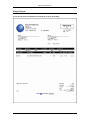
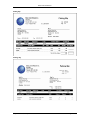
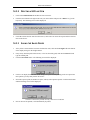
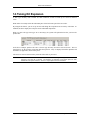
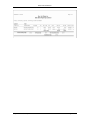
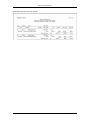
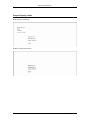
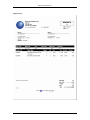
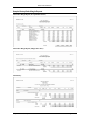
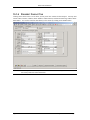
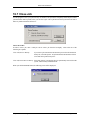
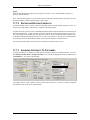
Click this button to print the inventory variance report:
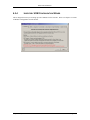
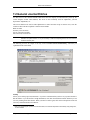
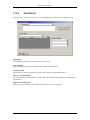
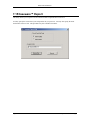
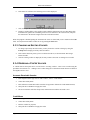
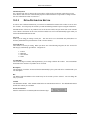
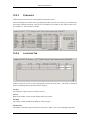
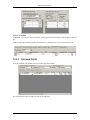
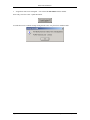
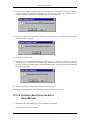
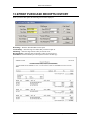
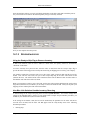
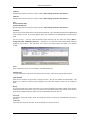
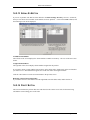
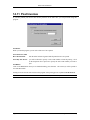
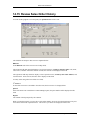
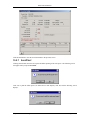
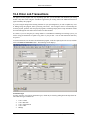
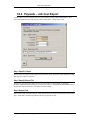
Step 6 – Process Inventory Count (button)
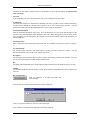
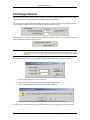
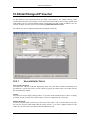
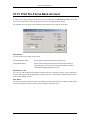
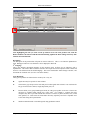
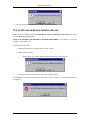
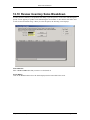
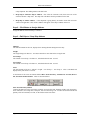
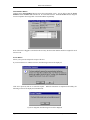
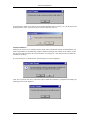
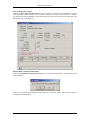
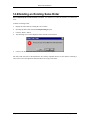
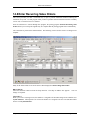
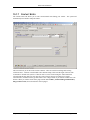
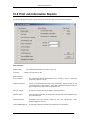
Click this button to post the inventory count as shown on screen.
This function posts changes to inventory as actual amounts on hand and to the general ledger against the
inventory asset accounts (as defined by the inventory class codes) and the inventory adjustment account as
defined in the System Interface.
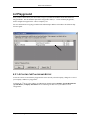
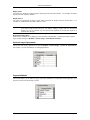
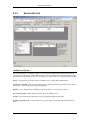
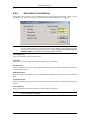
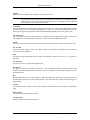
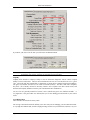
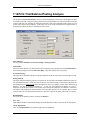
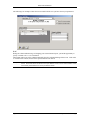
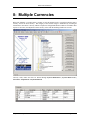
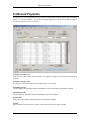
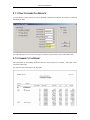
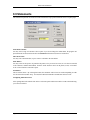
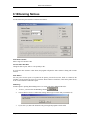
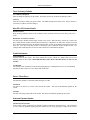
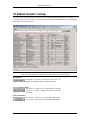
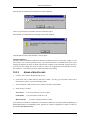
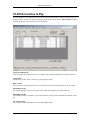
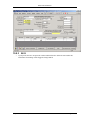
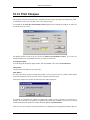
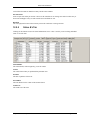
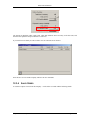
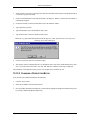
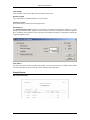
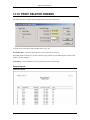
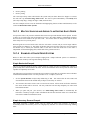
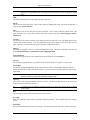
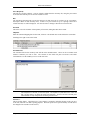
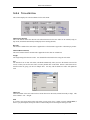
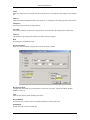
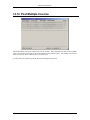
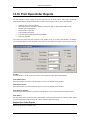
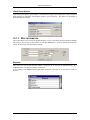
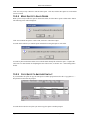
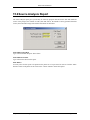
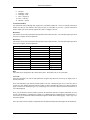
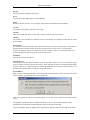
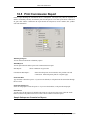
Tab Through Count Field Only (button)
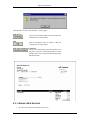
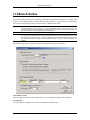
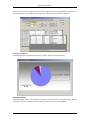
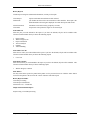
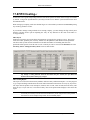
Click this button to toggle the operation of the tab key when in the sub-form. Specifically, press the button
to have the tab key move from directly from the count field in one record to the count field in the next
record. Raise the button to tab through the product code, count, bin and shelf fields before proceeding to
the next record.
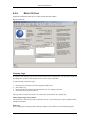
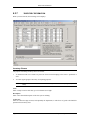
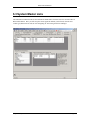
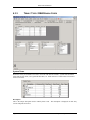
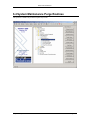
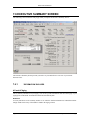
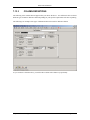
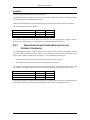
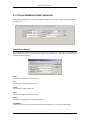
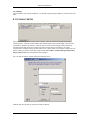
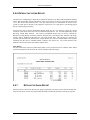
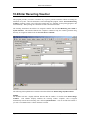
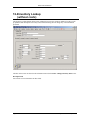
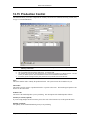
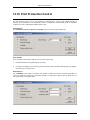
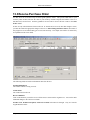
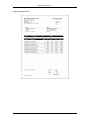
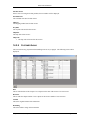
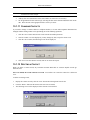
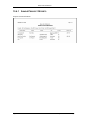
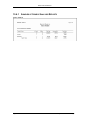
12.13.1 GENERAL PROGRAM OPERATION
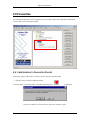
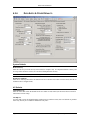
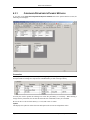
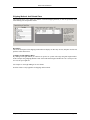
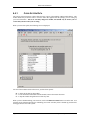
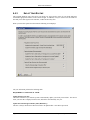
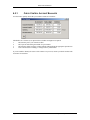
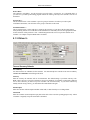
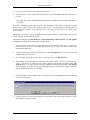
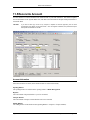
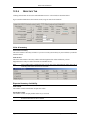
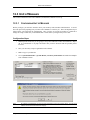
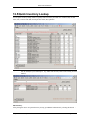
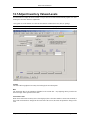
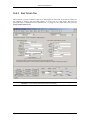
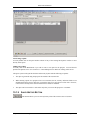
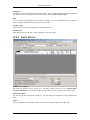
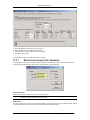
Method 1 – Entering quantities for ranges of products
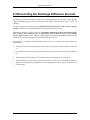
1.
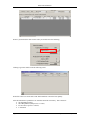
Select the location and range of products you want to enter counts for.
2.
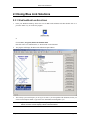
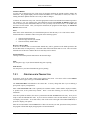
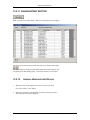
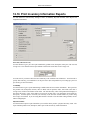
Click on the “1-Show/Add Inventory Records” button.
3.
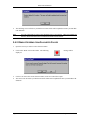
Optionally select additional ranges of products to be added to the count, and click the “1-Show/Add
Inventory Records” button again, answering “no” when asked if you want to delete the currently
selected products.
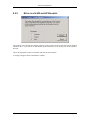
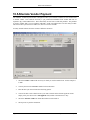
4.
Optionally, export the data to Excel, or later, import the file from Excel.
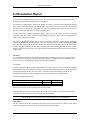
5.
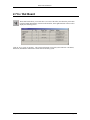
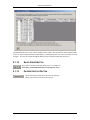
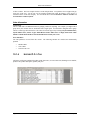
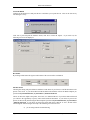
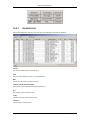
Enter the count information, bin and shelf.
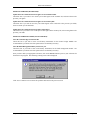
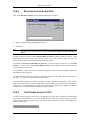
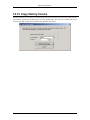
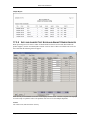
6.
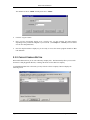
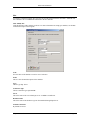
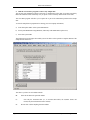
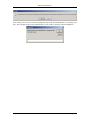
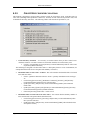
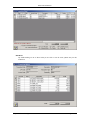
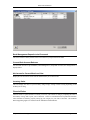
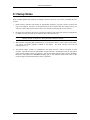
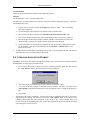
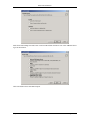
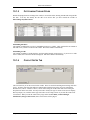
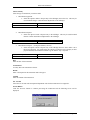
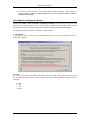
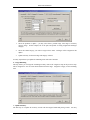
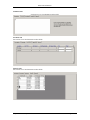
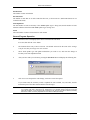
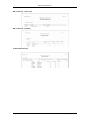
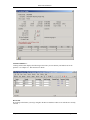
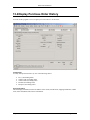
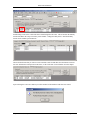
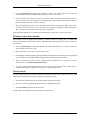
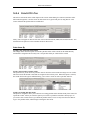
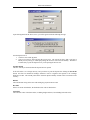
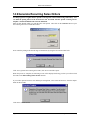
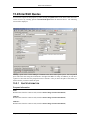
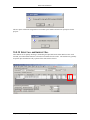
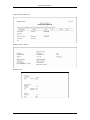
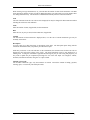
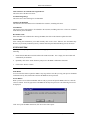
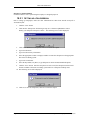
If you encounter a serialized item and have to adjust it’s quantity, double-click the count field to
display the serialized inventory screen (described later).
Chapter 12 – Inventory Control
Page 381