1
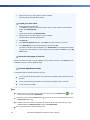
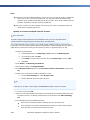
4. Continue with the Query Wizard. For more information about the Query Wizard, click the Help button
to open Microsoft Query Help. For more information about importing external data to Excel, search
for "import external data" in Excel Help.
5. For PivotTables, in the PivotTable and PivotChart Wizard - Step 2 of 3 dialog box, click Next,
and then click Finish. Then drag the fields as needed to your PivotTable.
Tip
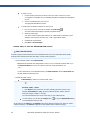
To share your new file with other users, do one of the following:
Add your file as a report in Microsoft Dynamics CRM, and select the report. On the More Actions
menu, click Sharing, and specify users with whom to share the report.
If the report would be useful for all users, add your file as a report in Microsoft Dynamics CRM, and
ask your system administrator to make it available to the organization. If you have the appropriate
permissions:
1.
In the Microsoft Dynamics CRM Reports area, select the report.
2.
Click Edit Report
3.
On the Actions
.
menu, click Make Report Available to Organization.
Put the report in a shared file system.
E-mail the report to other Microsoft Dynamics CRM users in the same domain.
Use Microsoft Office Excel 2007
Can I do this task?
This task requires permissions that are found in all default security roles. More information about specific
permissions and performing this task while offline: Report Permissions
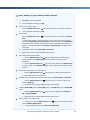
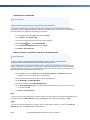
1. In Excel 2007, on the Data tab, in the Get External Data group, click From Other Sources, and
then click From Microsoft Query.
2. In the Choose Data Source dialog box, select <New Data Source>, and then click OK.
3. In the Create New Data Source dialog box, type a name for the data source, and then in the driver
list, select SQL Server.
4. Click Connect.
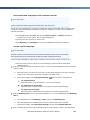
5. In the SQL Server Login dialog box, in the Server list, select the Microsoft SQL Server or server
instance where the Microsoft Dynamics CRM database is installed, and then click Options.
6. In the Database box, select Organization_MSCRM, and then click OK three times.
The Query Wizard - Choose Columns dialog box opens.
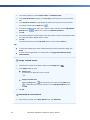
7. In the Query Wizard - Choose Columns dialog box, select filtered views that start with the prefix
Filtered. You can select columns within each filtered view, and select multiple filtered views.
Caution To integrate with built-in security, only include filtered views in your query. If you connect
directly to a database table, the spreadsheet may fail to return data for other users.
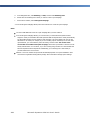
8. Continue with the Query Wizard. For more information about the Query Wizard, click the Help button
to open Microsoft Query Help. For more information about importing external data to Excel, search
for "import external data" in Excel Help.
Microsoft Dynamics CRM 4.0 User’s Guide
215