1
OMRON
CHAPTER 4 – Reference
Setting Up Automatic Allocation
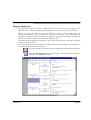
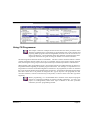
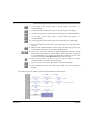
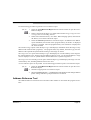
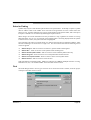
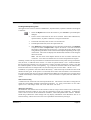
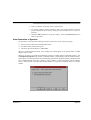
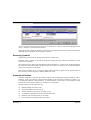
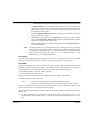
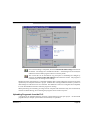
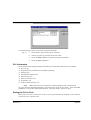
The PLC Automatic Memory Allocation dialog is opened from the toolbar by selecting PLC | Automatic
Allocation.
Use the following procedure to apply automatic allocation.
1, 2, 3…
1.
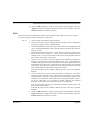
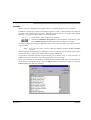
Select (tick) the Enable automatic allocation for this PLC option.
A list of memory ranges may be entered for the PLC. The list is ordered, so that
the first area in the list is allocated first.
2.
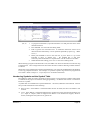
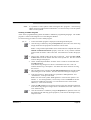
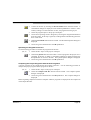
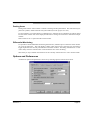
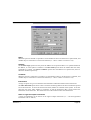
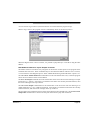
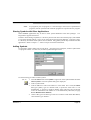
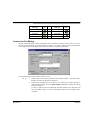
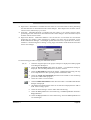
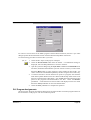
Use the Add... button to add an area to the allocation list. A dialog is shown to
input the details for the area:
3.
Type in the Start address and Size (channels) to define the address range in the
PLC for CX-Programmer to allocate from.
4.
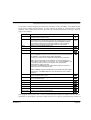
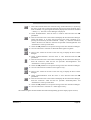
Choose one or more data types which are to be allocated in this area. By default,
all applicable data types will be allocated from within this area. A restriction can
be made, so that for example, a separate memory area can be set to allocate BOOLs
and CHANNELs.
5.
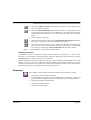
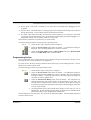
Use the Remove button to remove the selected allocation range from the list.
6.
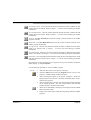
Use the Move Up and Move Down buttons to move a selected range up and down
in the priority order for the PLC.
Allocation of Symbols
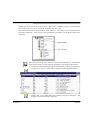
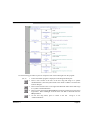
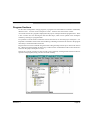
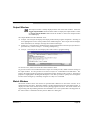
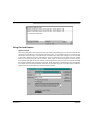
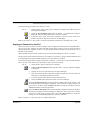
Symbols can be defined to use automatic allocation simply by leaving their addresses blank. CXProgrammer then allocates the symbol address during compilation. The actual address allocated is shown
against the symbol, but the address is marked as ‘Auto’ to show that the address has not been assigned
by the user.
Revision 2.1
Page 76