1
Using a Mic with an XLR Connector
(Input Channels 1–2)
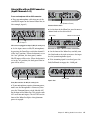
To use a microphone with an XLR connector:
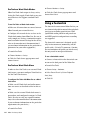
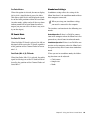
1 Plug your microphone cable into one of the
two Mic/DI inputs on the front of Mbox Pro (in
this example, input 2).
48V (Phantom Power)
Phantom Power switch
Input 1
Mic input
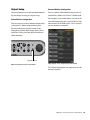
4 On the front of the Mbox Pro, turn the master
volume knob to the desired level.
Gain knob
Master volume knob
Mic/DI input 2
XLR connector plugged into Input 2 (Mic/DI combo jack)
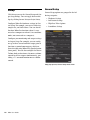
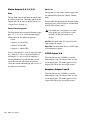
2 Set the input source to Mic/DI (microphone)
Gain knob for Input 1 (Master volume knob shown)
by pressing the Front/Rear switch for channel 2
to the “out” position. (When the button is set to
the “out” position, the front panel, combo
Mic/DI inputs will be active. When the button is
set to the “in” position, the back panel Line inputs will be active.)
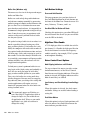
5 On the front of the Mbox Pro, carefully turn
the Gain knob to the right to increase the input
level of your microphone signal.
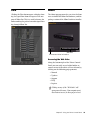
6 If the incoming signal is too loud, press the
Push/Pull knob to engage the –20 dB pad.
–20 dB Pad
Front/Rear switches
Front/Rear switches for Mic/DI combo jacks
Input 2 Pad
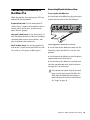
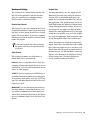
3 If your microphone requires phantom power,
make sure the microphone is connected, then
press the Phantom Power switch (labeled 48V)
on the front of the Mbox Pro. This switch sends
48V to all four mic inputs. The 48V LED on the
front of the Mbox Pro lights when phantom
power is engaged.
Chapter 4: Making Studio Connections
17