1
REMOTE OPERATION
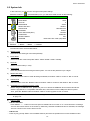
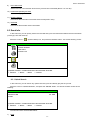
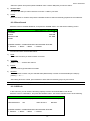
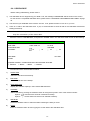
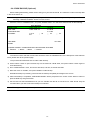
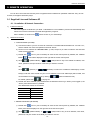
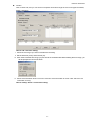
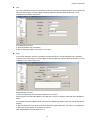
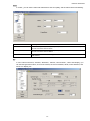
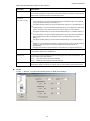
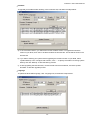
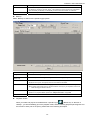
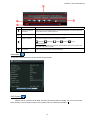
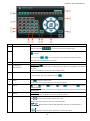
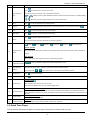
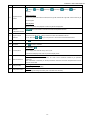
Please see the description below for each function:
Function
Description
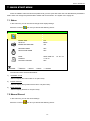
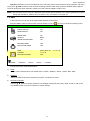
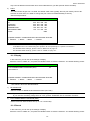
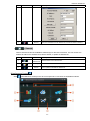
DETECT
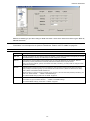
Enable (ON) or disable (OFF) the function of “Motion Detection”.
If this function is enabled, you might need to set the motion detection sensitivity or simply keep the
default values. For details, please see the description below.
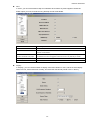
Motion Detection
Sensitivity
(LS / SS / TS / RE)
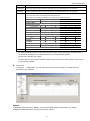
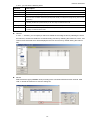
Set the detection sensitivity in 4 different adjustable factors (LS / SS / TS / RE).
LS
“Level of Sensitivity”, is to set the sensitivity of comparing two different images. The smaller the
value is, the higher sensitivity for motion detection.
The highest sensitivity setting is 0, and the lowest sensitivity setting is 15. The default value is 7.
SS
“Spatial Sensitivity”, is to set the sensitivity for detecting the size of one object (the number of the
grids) on the screen. The smaller the value is, the higher sensitivity for motion detection.
The highest sensitivity setting is 0, and the lowest sensitivity setting is 15. The default setting is 3.
TS
“Time of Sensitivity”, is to set the sensitivity regarding how long one object stays in the detection
area and triggers the recording. The smaller the value is, the higher sensitivity for motion
detection.
The highest sensitivity setting is 0, and the lowest sensitivity setting is 15. The default setting is 2.
RE
“Reference”, is to set a reference for detection. The default value is 10, which means the DVR will
compare 10 continuous images at one time according to the sensitivity of LS, SS, TS
simultaneously.
The bigger the value is, the higher sensitivity for motion detection. The highest sensitivity is 61.
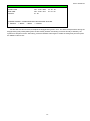
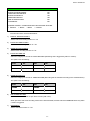
Alarm
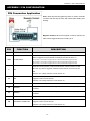
Select N.C. (normal closed) / N.O. (normal opened) / OFF for the alarm polarity. For N.C. / N.O.
contact details, please refer to “APPENDIX 2”.
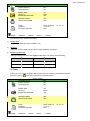
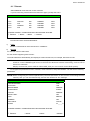
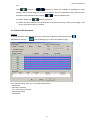
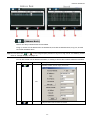
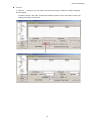
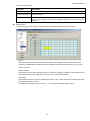
Motion Detection
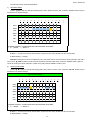
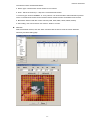
Setting Area
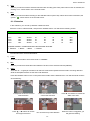
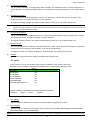
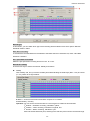
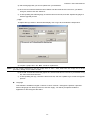
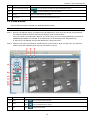
Set the motion detection area by selecting the area grids with your mouse. Pink grids represent
the area that is not being detected while the transparent grids are the area under detection. You
can set multiple areas under detection.
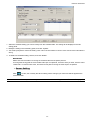
Click “-” (Clear All) to set the whole area undetected.
Click “+” (Select All) to set the whole area under detection.
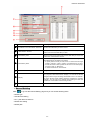
Apply / Return
To save the setting, click “Apply” and return to “Server Setting” window.
To discard the setting, click “Return” to directly return to “Server Setting” window without saving.
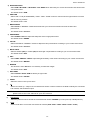
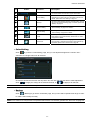
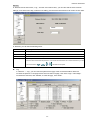
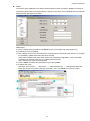
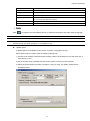
Record
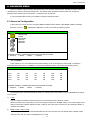
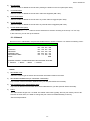
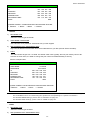
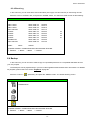
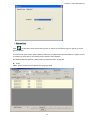
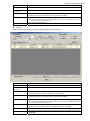
In “Dvr” → “Record”, you will see the following items for DVR record settings.
-58-