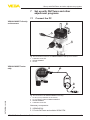
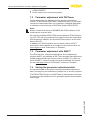
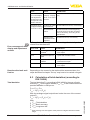
1
5 Connecting to power supply
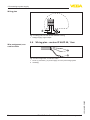
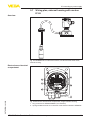
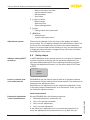
3. Loop the connection cable through the cable entry on the housing
base2)
Information:
The cable gland can be mounted in three positions each displaced
by 90°. Simply exchange the cable gland against the blind plug in the
suitable thread opening.
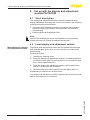
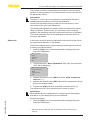
4. Connect the wire ends as described under "Single/Double chamber housing" according to the numbering
5. Connect the screen to the internal ground terminal, connect the
outer ground terminal above on the housing to potential equalisation
6. Tighten the compression nut of the cable entry gland. The seal
ring must completely encircle the cable
7. Attach the mounting plate again and tighten the screws
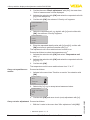
The electrical connection of the sensor to the external housing is
finished.
5.3 Wiring plan, single chamber housing
The following illustrations apply to the non-Ex as well as to the Ex-ia
version.
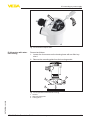
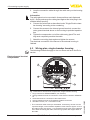
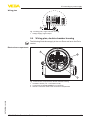
Electronics and terminal
compartment
Typ:
4
Sim.
5
Bus
1
2
Display
5 6 7 8
I²C
1
2
3
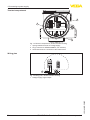
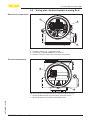
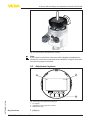
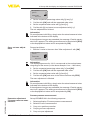
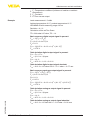
Fig. 14: Electronics and terminal compartment, single chamber housing
2)
24
The connection cable comes pre-assembled. If necessary, shorten it to the
requested length, cut the breather capillaries clean. Remove approx. 5 cm of
the cable mantle, strip approx. 1 cm insulation from the ends of the individual
wires. After shortening the cable, fasten the type plate with support back on
the cable.
VEGABAR 66 • Foundation Fieldbus - climate compensated
36793-EN-141001
1 Plug connector for VEGACONNECT (I²C interface)
2 Spring-loaded terminals for connection of the external indication VEGADIS
61
3 Ground terminal for connection of the cable screen
4 Spring-loaded terminals for Foundation Fieldbus connection
5 Simulation switch ("on" = simulation mode)