1
User’s guide
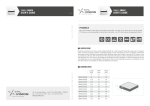
Dimensions
fixing
Internal ø
(mm)
External ø
(mm)
Height
(mm)
A
B
C
124,60
200,60
24,90
LOW ANGLE II
130
P2/4
P3/4
strobe mode
Dimming
Timetable
Entrée
Triggering
Déclenchement
input
100%
80%
60%
40%
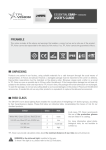
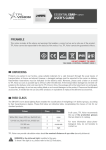
During the set up, the light has to be switched off
and unplugged. Please use the fixing holes designed
for that purpose (see scheme above). We recommend
the using of M5 screws (not supplied) with a tightening torque from 0.5 to 1.5 Nm. We also recommend
the use of a threadlocker (not supplied) to avoid any
risk of loosening.
+ 24 V
1
2
3
4
5
6
1.5 ms
4
3
blue
1
2
white
1 + 24 V
2
3 Ground
4 Strobe
GND
NC
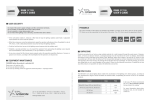
In STROBE mode:
STROBE entry = 24 V
or 5V TTL –> light on
FRONT VIEW OF THE PRODUCT’S CONNECTOR
Power supply : 24V +/-10%
Strobe input : 24V or 5V TTL
PNP-Like Automaton output
NPN-Like Automaton output
Toward STROBE
input
From camera
/automate
+5V or +24V
Resistance value
to be adapted
to the automaton.
Max. 4.7 kΩ
CONTINUOUS MODE CONNECTION
1 + 24 V
2
3 Ground
4
1 ms
Sortie
Lighting
Éclairage
output
of its lighting power.
STROBE MODE CONNECTION
brown
0
Above 5 Volts, the product reaches 100%
M12 4 male points
STROBE
VOLTS
0%
Potential dimming between 1.5 and 5 Volts.
Connection
Automate black
20%
+5V or +24V
0V
Toward STROBE
input
From camera
/automate