1
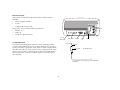
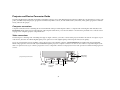
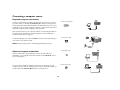
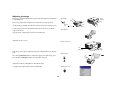
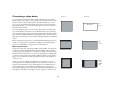
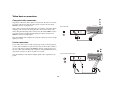
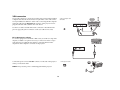
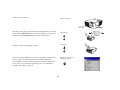
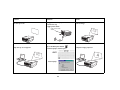
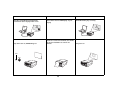
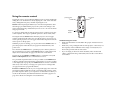
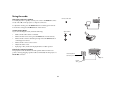
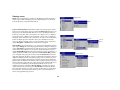
Displaying a computer source image
remove lens cap
Remove the lens cap.
Toggle the Power switch on the side of the projector to the On position.
toggle Power switch
The LED flashes green and the fans start to run. When the lamp comes on,
the start up screen displays and the LED is steady green. It can take a
minute for the image to achieve full brightness.
? No start up screen? Get help on page 22.
Turn on your computer.
turn on computer
The computer’s image should appear on the projection screen. If it doesn’t,
press the Computer button on the projector’s keypad.
If your computer has Windows 98 as its operating system, see “Using the
projector with Windows 98 for the first time” on page 15 regarding the
driver setup process.
Make sure your laptop’s external video port is active.
activate laptop’s external port
monitor key
or LCD/CRT key
Many laptops do not automatically turn on their external video port when a
projector is connected. Usually a key combination like FN + F8 or CRT/LCD
key turns the external display on and off. Locate a function key labeled
CRT/LCD or a function key with a monitor symbol. Press FN and the
labeled function key simultaneously. Refer to your laptop’s documentation to learn your laptop’s key combination.
FN key
? No laptop image? Try pressing the Auto Image button on the keypad. Get help on page 23.
13