Transcript
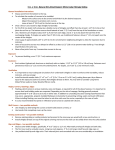
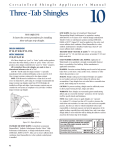
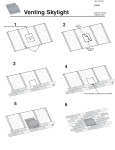
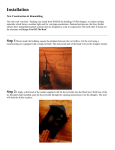
ROOF VENT KIT - INSTALLATION INSTRUCTIONS Plan installation carefully. Roof cap will accept 3” or 4” round duct. Tape all joints with duct tape to prevent air and water leaks. NOTE: DO NOT INSTALL THE ROOF CAP ON A FLAT ROOF. 5. Trim shingles as shown, so they will fit snugly around hood of roof cap when installed. Seal all around duct with roof cement. 6.Slide 4” hose clamp over end of flexible hose and attach hose to connector. Tighten clamp securely. 7. Insert hose and connector into hole in roof. 1. Cut a 5” diameter hole through roof boards and shingles. ROOF CEMENT (Seal shingles to roof cap on sides and top) NOTCH 1 V CUT NAILS (Seal all nail heads with roof cement) 2 2.Connect 4” metal duct connector to opening in bottom of roof cap: Insert one edge of "V cut" under edge of "Notch". Rotate duct connector 360 degrees to completely engage. 8.Carefully lift shingles and slide back flange of roof cap under shingles. Nail flange to roof under shingles at top and two sides. Nail directly to roof at bottom. 9.Use roof cement to seal shingles to top and sides of roof cap. Seal all nail heads with roof cement as well. NOTE: Use as short a duct run as possible, for best fan performance. If the 8-foot length is more than needed, cut hose to desired length. 3.Insert duct connector/roof cap assembly into hole in roof. 10.Slide hose clamp over free end of hose and fasten hose to fan discharge collar. 4.Trace outline of roof flange onto shingles. NOTE: If discharge collar on fan is 3” diameter, use the neoprene strip to increase the diameter to 4”. To install the neoprene strip: 1. Center it on the top of the discharge collar. 2.Remove the paper backing. 3.Smoothly wrap it around the discharge collar so that the pressure-sensitive adhesive holds it in place. 99040569F