1
Pressure Cooking
Operating Instructions
1. Position the electrical cord in the slot located on the bottom of
the Pressure Cooker.
5
2. Prepare food according to recipe or chart.
6
Steam
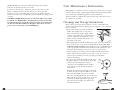
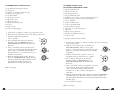
If recipe calls for sautéing vegetables or
7
3
browning meat, add oil to the Pressure
2
8
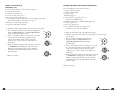
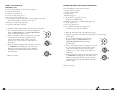
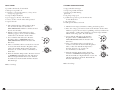
Cooker Pan and turn the Variable
Temperature Pressure Control to
9
1
Max/Browning
Warming
MAX/BROWNING, 7, 8, or 9. The
Toastmaster® Pressure Cooker has a
Browning Feature that allows you to sauté or brown foods in the
Pressure Cooking Pan before cooking under pressure. (Follow
the procedures described in the Features: Browning section
of this Use and Care Guide.)
3. Follow recipe or chart directions; remove the browned food
and/or add the the other ingredients. Always use 1-3 cups of
water, broth, wine, fruit or vegetable juice, or other liquid for
pressure cooking. Do not use milk, milk products, or cream
sauces, as they tend to scorch easily. Make sure the rim of the
Pan is clean and dry. Never beat a spoon or other utensil on the
rim of the Pressure Cooker Pan. Any dent or mar in the rim may
prevent a good seal from forming and prevent the Pressure
Cooker from pressurizing properly.
4. Place the clean Gasket in position inside the Pressure Cooker
Lid, make sure it is under Lid Lock Mechanism and the Steam
Vent inside the rim of the Lid.
5. Place Lid onto the top of the Pressure Cooker Pan so that the
Lid Handle is slightly to the right of the Pressure Cooker Pan
Handle. Turn the Lid Handle clockwise until the two Handles
are together and facing you. The Lid Lock Button locks the Lid
in place. Make sure the Lid is properly seated on the rim of the
Pressure Cooker Pan and is securely attached onto the Pan.
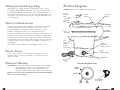
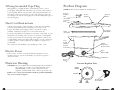
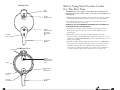
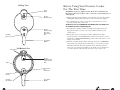
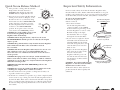
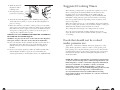
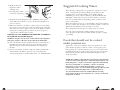
6. Turn the Pressure Regulator Valve on top of
Steam
Release
the Lid to PRESSURE.
Pressure
Steam
12.
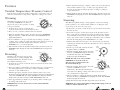
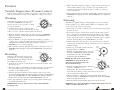
7. Turn the Variable Temperature/Pressure Control to WARMING.
8. Plug the unit into a 120V AC wall outlet. The POWER Indicator
5
Light will illuminate.
6
Steam
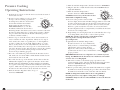
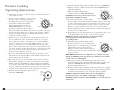
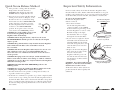
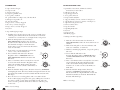
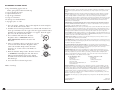
9. Turn the Variable Temperature/
7
3
Pressure Control to MAX/BROWNING.
2
8
CAUTION: Never leave your Pressure Cooker
9
1
unattended at a high heat setting.
Max/Browning
Warming
10. As soon as the pressure starts to build,
however slight, the Pressure Lift Pin will jiggle until it reaches full
pressure and locks the Lid onto the Pressure Cooker Pan. Do not
try to remove the Lid until the pressure has been safely released.
Wait for a gentle steady flow of steam to be released from the
Pressure Regulator Valve accompanied by a loud hiss: the Pressure
Cooker is now at full pressure.
11. Begin timing once the high pressure is reached. Follow the recipe
or Cooking Guide, allow food to cook for time specified.
NOTE: The amount of food being cooked will determine
how long it takes to bring the Pressure Cooker
up to full pressure.
5
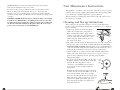
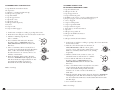
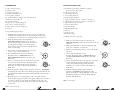
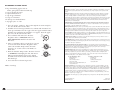
12. Quickly turn the Variable Temperature/
6
Steam
Pressure Control to 6 - 7 (see illustration)
7
3
until you hear a constant hissing sound that
will fluctuate as the pressure changes.
2
8
Experience will teach you what setting on
9
1
Max/Browning
your Pressure Cooker to use to maintain the Warming
proper pressure.
IMPORTANT: If the heat is too high, there is a constant very loud
hissing. You MUST turn the heat down. Too much heat can result in
excessive loss of cooking liquid.
13. When the food has cooked under proper pressure for the
required length of time, turn the Variable Temperature/Pressure
Control to WARMING and unplug the unit. The POWER
Indicator Light will turn off.
14. Release pressure using either the Natural Steam Release or Quick
Steam Release method, following the procedures described in the
Steam Release methods section of this Use and Care Guide.
NOTE: Cooking times listed in this book are only guidelines.
Personal preferences vary; adjust cooking times accordingly.
CAUTION: Always use the Cool Touch Handles to move the Pressure
Cooker Pan.
Clean
13.