1
PCG-FRV Series CD/DVD Drive
Replacement Instructions
IMPORTANT!
PLEASE READ BEFORE YOU START
These easy instructions are intended to guide you through the replacement process.
9 To avoid electric shock please make sure product is turned off and AC Adaptor is disconnected
from the power source. Remove jewelry before you begin work to avoid scratching the surface of
your notebook computer.*
9 Place your notebook computer on a clean, stable and covered surface to avoid damage to the
computer's case.*
9 Follow the ESD (Electrostatic Discharge) damage prevention instructions:
o Hold parts by the edges, away from exposed circuitry when possible.
o Do not walk around excessively as this promotes static build-up.
9 The appearance of the electronic components shown in the illustrations may be different from the
components shipped. This slight difference does not affect the accuracy of these instructions.
* Sony is not responsible for any loss of data associated with your computer or any damage caused by
incorrect handling of the computer under these procedures. The terms of your Sony Limited Warranty
continue to apply.
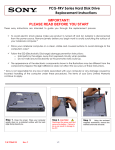
Step 1. Power on the PC,
eject the CD/DVD drive tray
by pressing the button on the
drive door. Next, properly turn
off the PC, leaving the tray
ejected.
P/N T99860134
Rev. C
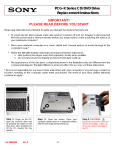
Step 2. Close the screen. Place your
computer upside down on a protected
surface with the back edge facing toward
you.
1/2
Step 3. CAUTION!
Disconnect the power cord and
remove the battery. Failure to
do so can result in damage to
the PC.
PCG-FRV Series CD/DVD Drive
Replacement Instructions
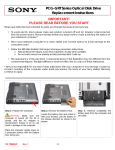
Step 4. Using the enclosed magnetic screwdriver,
Step 5. Using the enclosed magnetic screwdriver,
remove the marked screw and door as shown and set
them aside.
remove the three (3) screws as indicated in the picture.
CAUTION!
Be careful not to drop screws into the unit
Faceplate should be flat
with edge of PC
Step 7. Slide the new CD/DVD drive into the bay using firm
even pressure as shown above. When properly inserted, the
drive's edge is evenly aligned with the edge of the computer
and the screw holes should be aligned with the screw
openings.
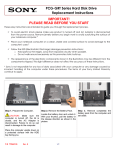
Step 6. Rotate the PC. The CD/DVD drive should be
facing you. Ensure that all three (3) screws from step 5
have been removed. Firmly grasp the CD/DVD drive and
slide it away from the computer as shown above.
Step 8. Using the enclosed
magnetic screwdriver, reinstall
the three (3) previously
removed screws.
CAUTION!
Be careful not
to drop screws into the inside
of the unit, and to use the
correct screws, as shown in
the picture. Do not over tighten
the screws!
P/N T99860134
Rev. C
2/2
Step 9. Using the
enclosed
magnetic
screwdriver,
reinstall
the external door and
screw. Return the old
CD/DVD drive to Sony
following the included
shipping instructions.