1
Chapter 2: Installation
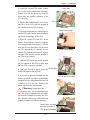
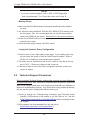
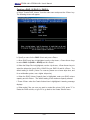
8. Repeat Step 6 to insert all four heatsink
fasteners into the mounting holes.
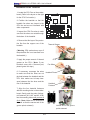
9. Once all four fasteners are securely
inserted into the mounting holes and the
heatsink is properly installed on the motherboard, connect the heatsink fan wires to
the CPU Fan connector.
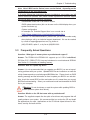
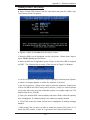
Heatsink Removal
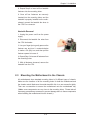
1. Unplug the power cord from the power
supply.
2. Disconnect the heatsink fan wires from
the CPU fan header.
3. Use your finger tips to gently press on the
fastener cap and turn it counterclockwise
to make a 1/4 (900) turn, and then pull the
fastener upward to loosen it.
4. Repeat Step 3 to loosen all fasteners from
the mounting holes.
5. With all fasteners loosened, remove the
heatsink from the CPU.
2-3
Mounting the Motherboard in the Chassis
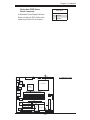
All motherboards have standard mounting holes to fit different types of chassis.
Make sure the locations of all the mounting holes for both the motherboard and
the chassis match. Make sure the metal standoffs click in or are screwed in tightly.
Then use a screwdriver to secure the motherboard onto the motherboard tray.
(*Note: some components are very close to the mounting holes. Please take all
necessary precautionary measures to prevent damage done to these components
when installing the motherboard into the chassis.)
2-5