1
3. Mounting disks in the Master Caddy
Mounting drives in the Master Caddy
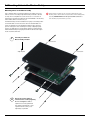
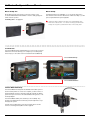
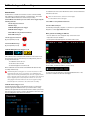
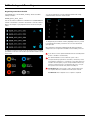
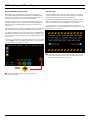
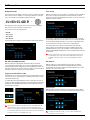
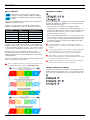
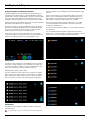
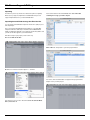
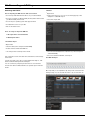
This is simplicity itself. Just insert the disk into the caddy, and secure
with four screws. The caddy is light and the disk just needs to be held
securely. Don’t over-tighten the screws. There are no connections to
make because pushing the caddy into the Samurai Blade or the Docking
station makes all the connections for you.
Spinning disks and SSDs are very sensitive to damage from static
electricity. Please observe all the usual precautions when handling them,
especially DO NOT EVER touch the exposed SATA connector as
static electricity may be harmful to your disk.
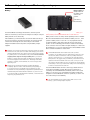
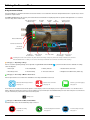
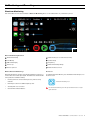
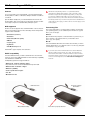
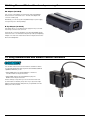
The Master Caddy can’t be inserted the wrong way round. Always make
sure that the disk connector faces the slot in the Samurai Blade. You
have to be quite firm to push the Master Caddy into place, but don’t
push too hard, just in case something isn’t set up or aligned properly.
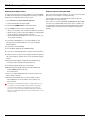
There is very little that can cause problems and the most likely thing is
that the Master Caddy isn’t properly flush with the drive inside. A quick
visual check will confirm this.
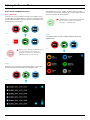
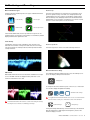
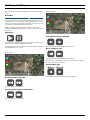
1
Carefully assemble the
Master Caddy and disk
Insert screw
Align all parts
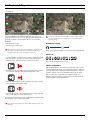
2
Insert screw
Ensure all 3 parts aligned
and insert 4 x screws (supplied)
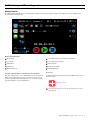
Do not over-tighten screws or
alignment can not be guaranteed.
We suggest squeezing the corners
together near the screw you are
tightening for optimal fit.
Atomos Samurai Blade – User Manual Edition 1: June 2013
6