1
Recording from External Components
Recording from a Digital Camcorder
You can record from an external component, such as a
camcorder or VCR, connected to any of the recorder’s
external inputs.
You can record from a digital camcorder connected to
the DV IN jack on the front panel of this recorder. Using
the recorder’s remote, you can control both the camcorder and this recorder.
Before recording, make sure that the audio input for the
DV IN jack is set up (see page 28).
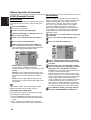
1
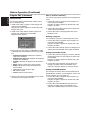
Make sure that the component you want to
record from is connected properly to the
Recorder. See page 19.
INPUT repeatedly to select the external
2 Press
input to record from.
•
•
•
•
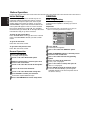
Tuner: Built-in tuner
AV1: EURO AV1 AUDIO/VIDEO mounted on back panel
AV2: EURO AV2 DECODER mounted on front panel
AV3 : AV3 IN (VIDEO, AUDIO (L/R), S-VIDEO IN)
mounted on front panel
• DV: DV IN mounted on front panel
ote
Check that the Audio In settings DV Record Audio are
as you want them. See page 28.
Load a recordable disc or tape.
3
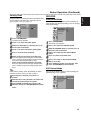
the recording mode as necessary by
4 Select
pressing REC MODE repeatedly.
DVD: SP (Standard Quality), LP (Low Quality),
XP(High Quality), EP (Extended Quality)
VCR: SP (Standard Play), LP (Long Play)
5
Press REC (z) once.
Recording will start. (The REC indicator lights in the
display window.)
Recording continues until you press STOP (x) or the
disc or tape is full.
To record for a fixed length of time, see Instant Timer
Recording on page 43.
6 Press STOP (x) to stop recording.
ote
If your source is copy-protected using CopyGuard, you will not
be able to record it using this recorder. See Copyright on page
10 for more details.
ips
• The source signal must be DVC-SD format.
• Some camcorders cannot be controlled using this
recorder’s remote.
• If you connect a second DVD Recorder using a DV
cable, you cannot control the second DVD Recorder
from this one.
• You can’t control this unit remotely from a component
connected to the DV IN jack.
• You can’t record date and time information from a DV
cassette.
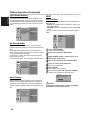
sure your digital camcorder is connected
1 Make
to the front panel DV IN jack. See page 19.
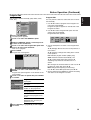
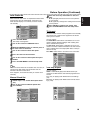
2 Check that the DV audio input is as you require.
You can choose between Audio 1 (original audio) and
Audio 2 (overdubbed audio).
• DV Input is set from the DV Record Audio in sub-menu
of the Setup menu. See DV Record Audio on page 28
for more information.
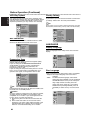
3 Press INPUT repeatedly to select the DV input.
the place on the camcorder tape that you
4 Find
want to the recording to start from.
DV appears in the display window.
For best results, pause playback at the point from which
you want to record.
• Depending on your camcorder, you can use this
recorder’s remote to control the camcorder using the
STOP, PLAY and PAUSE functions.
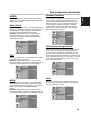
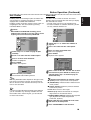
REC (z) once to start recording.
5 Press
Recording is automatically stopped if the recorder
•
detects no signal.
• You can pause or stop the recording by pressing
PAUSE/STEP (X) or STOP (x). You cannot
control the camcorder from this remote control
during recording.
• In Video mode, the final frame of the recording
may remain displayed on screen for a while after
recording stops.
• For timer recording to work properly on this
recorder, the digital camcorder must also be
switched on and in operating.
47
English
Recording from an External Input