1
Basic Preparations / Setting Up the Visualizer
F
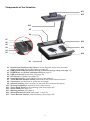
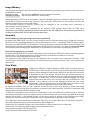
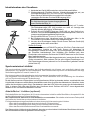
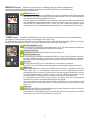
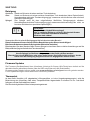
1. Connect the power cable to the unit (#26) and plug it in.
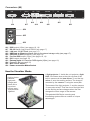
2. Connect your display device (projector, monitor, video conferencing unit
etc.) to the appropriate output of the Visualizer (#16, #21 and/or #22).
If you would like to use a control monitor, connect it to
the PREVIEW RGB output (#21).
IMPORTANT:
For choosing the right output please read the detailed
description on page 18!
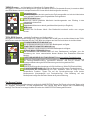
3. Turn the main power switch (#25, on the back of the unit) to "I". The
power indication LED (#3) is illuminated white to indicate that power is
supplied (takes about 40 seconds).
4. Press the POWER key (#3) to switch on the Visualizer. If folded down,
the arm will automatically rise into the correct working position.
The Visualizer now runs the "power-on preset"
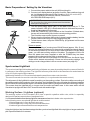
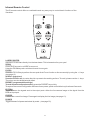
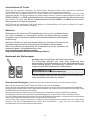
5. When using the Visualizer the first time, please insert the battery into the
remote control and charge it in the charging dock (#6).
6. To fold the arm down, keep the POWER key (#3) pressed until the arm
starts moving.
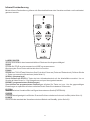
Power-on preset:
The automatic setting of zooming to an DIN A5 format (approx. 20 x 15 cm),
focus on the working surface level, the auto iris activated and touch display
on the sensing head is up. As soon as the Power Indication LED (#3) stays
green, you can start working with the Visualizer. The behavior of the unit
once the power has been supplied or after the POWER key has been
pressed can be changed in the unit's on-screen menu.
Please note, when the unit is switched on for the first time, the Quick Setup
Guide will be started automatically. Please set all necessary settings. The
settings can be changed later in the on-screen menu (see page 20).
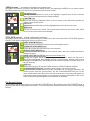
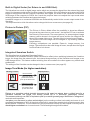
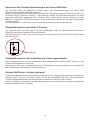
Synchronized Lightfield
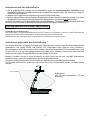
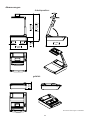
The synchronized light field makes positioning of objects very easy by marking the pick-up area of the builtin camera on the working surface. The light field zooms synchronous to the camera zoom and shows the
4:3 or 16:10 pick-up size of the camera.
Additionally the built-in LCD monitor eliminates the need for an extra control monitor.
This monitor can also be used to control the Visualizer (i.e. to synchronize the remote control).
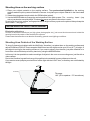
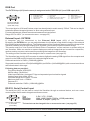
The alignment of this lightfield is made for working on the working surface. Due to the oblique mounting of
the camera and the light projector of the Visualizer, the lightfield shifts to the left when the distance between
the Visualizer and the scanned object is increased (when capturing images outside of the working surface).
This means that the lightfield will no longer show the exact recorded area. In this case switch off the
Visualizer’s top light with the LIGHT icon and work with ambient light.
Working Surface / Lightbox (optional)
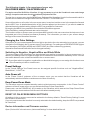
The working surface of the Visualizer (#13) has a special crystalline white color, which is especially
designed for perfect reproduction of transparencies.
It is recommended to use the top light for transparencies due to better color reproduction.
In the following cases, an optional light box is recommended:
- If the transparency is very dark such as x-rays
- If the transparency is very wavy and causes reflections
- If ambient light causes reflections on transparencies
Using the light box has the disadvantage that the synchronized lightfield of the top light no longer marks the
pick-up area of the built-in camera.
5