1
1
Accessing your safe
Opening your safe for the first
time (keep door open during setup):
See lock-out screw and tag instructions on
the inside of the safe door, if equipped.
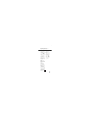
1. Remove and
discard the
screw at the
base of the
lock case
(fig. A).
To lock safe:
Close the door and return the handle to
the horizontal position.
NOTE: This unit is equipped with a waterresistant gasket. Additional pressure to the
left corner of the door may be required
before the handle can be returned to the
horizontal position.
B
A
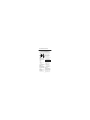
2. Turn the
electronic lock case to the right
(clockwise) (fig. B), from 12 o’clock
to 2 o’clock, and remove. Insert four
new batteries to power the lock (four
alkaline AA batteries, equaling voltage:
6Vdc, are required and are not included
in this kit). Replace the electronic lock
case and turn to the left (to 12 o’clock)
to reassemble.
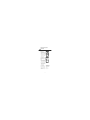
3. Turn the key to the right so that the lock
cylinder pops out.
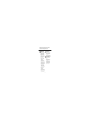
4. Enter the factory code (printed on the
first page of this guide), then press
the Prog/Enter key. When the unlocked
padlock icon(
) appears, you have
four seconds to turn the handle down
to open. Try this several times before
proceeding to the next step.
2-E
Battery replacement
The battery icon (
) will light when the
batteries need to be replaced. No codes
are erased when old batteries are removed
for replacement. See “Opening your safe
for the first time”.
NOTE: If your safe does not appear to be
working, please check batteries before calling
Sentry Customer Care.