1
English
7
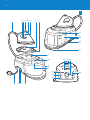
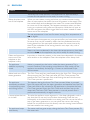
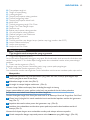
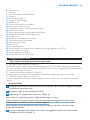
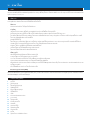
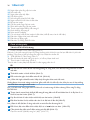
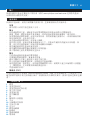
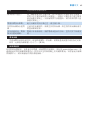
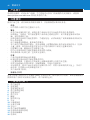
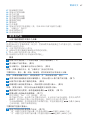
12 Filling opening
13 Supply hose storage compartment
14 Cord rewind button
15 Storage compartment for mains cord
16 Mains cord
17 Calc Clean tank emptying button
18 Calc Clean tank with light
19 Steam generator
20 Supply hose storage bracket
21 Supply hose storage groove
22 Carry lock slide
23 Carry lock
24 On/off knob
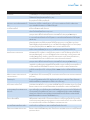
25 Steam selection buttons with lights (high, medium and ECO steam settings)
26 ’Water tank empty’ light
27 Automatic shut-off light
28 Auto Calc Clean light
Using the appliance
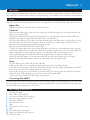
Three steps for ergonomic ironing
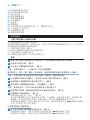
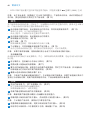
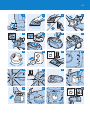
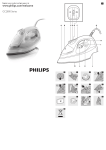
1 Ergonomic board height (Fig. 2)
Set the ironing board to the correct height. When you stand, the distance between your elbow and
the ironing board has to be approximately 27cm. You can use the heat-resistant iron resting mat as a
guide.
2 Ergonomic iron design (Fig. 3)
The upward sloping handle ensures a comfortable position of the wrist.
3 Ergonomic iron resting mat (Fig. 4)
The iron resting mat allows you to place your iron horizontally on the ironing board.
Ironing
1 Place the steam generator on a stable and level surface, i.e. on the hard part of the ironing
board or on a table.
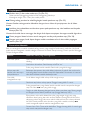
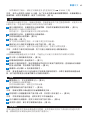
2 Remove the water tank from the appliance (Fig. 5).
3 Fill the water tank to the maximum level.  (Fig. 6)
Note:The ‘water tank empty’ light flashes if the water tank is empty.
Do not put hot water, perfume, vinegar, starch, descaling agents, ironing aids or other chemicals in
the water tank.
Note: Empty the Calc Clean tank if there is water in it. See chapter ‘Auto Calc Clean function’.
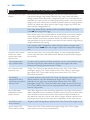
4 Slide the carry lock slide to the left to unlock the iron and take the iron off the steam
generator (Fig. 7).
5 Take the heat-resistant iron resting mat off the steam generator.  (Fig. 8)
6 Place the heat-resistant iron resting mat on the ironing board and put the iron on it (Fig. 9).
Note:You can safely put the hot iron on the mat during ironing
7 To iron with steam, set the temperature dial to 2 or higher.  (Fig. 10)
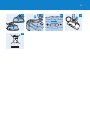
8 Put the plug in an earthed wall socket (Fig. 11).
-- Set the on/off knob to ‘on’.  (Fig. 12)