1
4
Parts Replacement Procedure > Parts Replacement > Removing the Cassette 3 Pickup Unit > When Connecting to 1-Cassette Unit
4-8
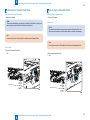
■ When Connecting to 1-Cassette Unit
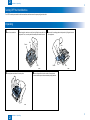
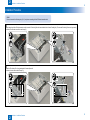
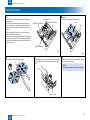
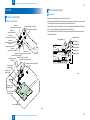
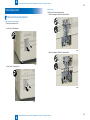
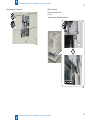
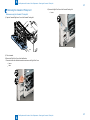
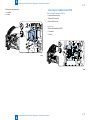
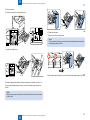
5)Remove the Right Rear Cover of the Host Machine.
• Remove the claw with a flat-blade screwdriver and remove the Right Rear Cover.
• 1 screw
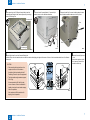
MEMO :
When Connecting to 1-Cassette Unit, be sure to remove the Cassette Right Lower
Cover.
Claw
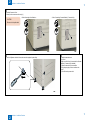
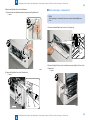
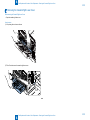
1) Remove the Cassette Right Lower Cover of the 1-Cassette Unit.
D-cut
2) Remove the Right Front Cover of the Host Machine and remove Right Front Cover of the
1-Cassette Unit
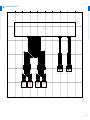
F-4-14
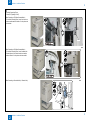
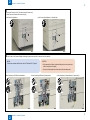
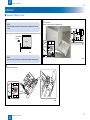
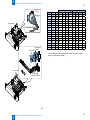
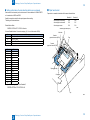
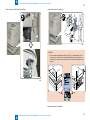
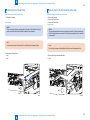
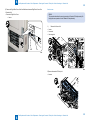
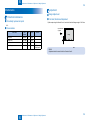
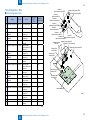
6) Remove the Right Rear Cover of the 2-Cassette Unit.
• 1 screw
• 1 screw
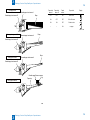
Projection
4
Hook
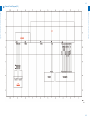
F-4-16
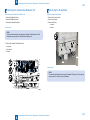
Pin
F-4-15
Parts Replacement Procedure > Parts Replacement > Removing the Cassette 3 Pickup Unit > When Connecting to 1-Cassette Unit
4-8