1
4.2 CREATING RAID GROUPS
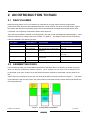
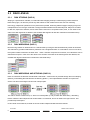
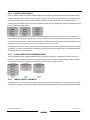
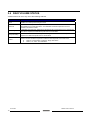
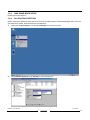
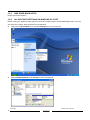
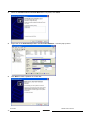
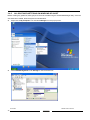
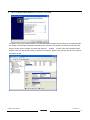
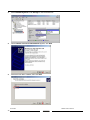
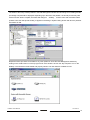
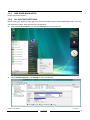
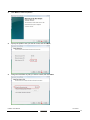
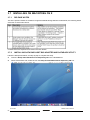
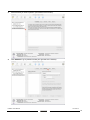
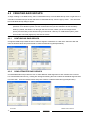
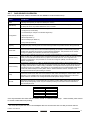
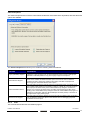
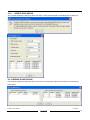
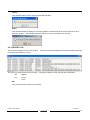
To begin creating a new RAID Group, select “Create RAID Group” from the RAID Group menu or right click on a
controller in the RAID Groups window and select “Create RAID Group” from the pop-up menu. This will cause
the Create RAID Group dialog to appear.
Note: The term “right-click” refers to using the secondary button on your mouse to perform the indicated
operation. On a Windows system, use the mouse button that you have defined to be the secondary
button (by default, that button is on the right side of the mouse, unless you have reconfigured the
primary and secondary mouse buttons using Control Panel > Mouse). On a Macintosh system, press
and hold the Command (Apple) key and click the mouse.
4.2.1
CONTIGUOUS RAID GROUPS
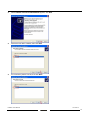
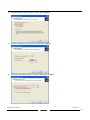
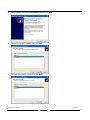
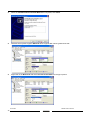
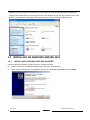
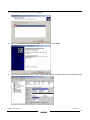
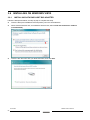
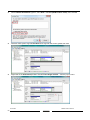
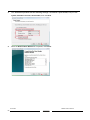
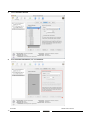
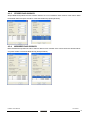
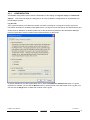
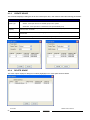
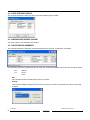
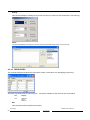
Contiguous RAID Groups allow the user to select a segment of disk drive or a disk drive. Select the disk and
enter the desired values and press Create to create the RAID Group (Example below).
4.2.2
CONCATENATED RAID GROUPS
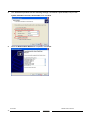
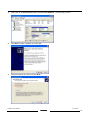
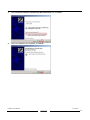
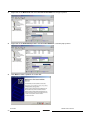
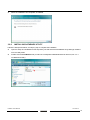
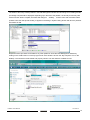
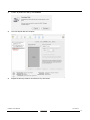
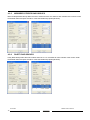
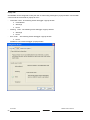
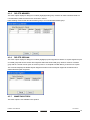
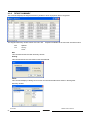
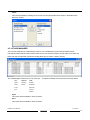
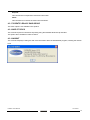
Concatenated RAID Groups allow the user to select different sized segments for each member of the volume.
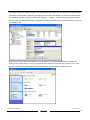
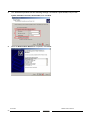
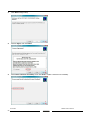
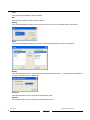
For Concatenated volumes only, a dialog box will appear allowing the user to select the individual segment sizes
from each disk. Enter the desired values and press Create to create the RAID Group (Example below).
Ver.071015
74
DAS401 User’s Manual