1
Chapter 6: Advanced Chassis Setup
6-5 Power Supply
The 1012C-MRF server has a single 320 Watts power supply. This power supply
has the capability of operating at a 100 or 240 input voltage. You must power down
the system and then unplug the AC power cord to completely remove power from
the system before removing the power supply.
Power Supply Failure
If the power supply unit fails, the system will shut down and you will need to replace
the power supply unit. Replacement units can be ordered directly from Supermicro
(see part numbers in Appendix C and contact infomation in Chapter 1).
Accessing the Inside of the System
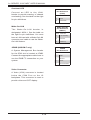
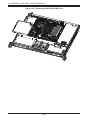
1. Power down the system and remove the AC power cord.
2. Grasp the two handles on either side and pull the unit straight out until it
locks (you will hear a "click").
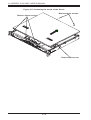
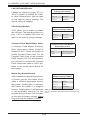
3. Next, remove the screws from the lips on either side of the cover then
depress the two buttons on the cover to release it.
4. Push the cover away from you then lift it from the chassis to gain full access
to the inside of the server.
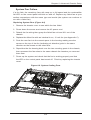
Replacing the Power Supply
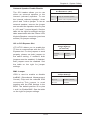
1. To remove the failed power unit, remove the two screws on the back of the
power supply and a third from the front of the power supply, which secures it
to the bottom of the chassis.
2. Lift the unit straight out of the chassis. (The power cord should have already
been removed.)
3. Replace the failed unit with another unit of the same wattage. You must
replace it with the exact same power supply.
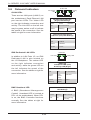
4. Carefully insert the new unit into position in the chassis and secure it with the
two screws at the rear of the unit and the third at the front.
5. Reconnect the power cord, replace the chassis top cover and push the unit
back into the rack.
6. Finish by turning on the power switch on the power supply, then depress the
power button on the front of the system.
6-7