1
WHAT TO DO IN AN EMERGENCY
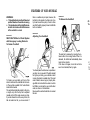
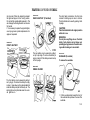
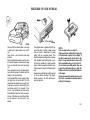
WARNING:
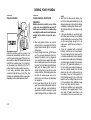
Wheel covers may have sharp edges. Handle them carefully to avoid possible severe
injury.
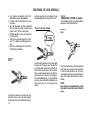
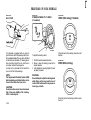
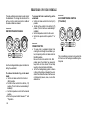
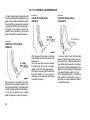
Before putting the wheel into place, be sure
that there is nothing on the hub or wheel
(such as mud, tar, gravel, etc.) that Interferes wlth the wheel fitting solldly agalnst
the hub. If there Is, remove It. If there is not
good contact on the mountlng surface between the wheel and hub, the wheel nuts
could come loose and cause the loss of a
wheel. Loss of a wheel may result In loss of
control of the vehlcle. This may cause serious injury or death.
3-6
D060H01A-AAT
D060I01A-GAT
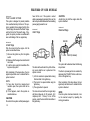
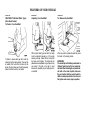
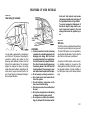
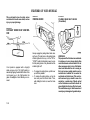
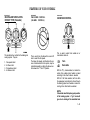
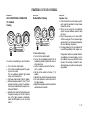
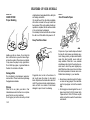
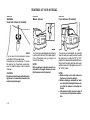
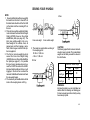
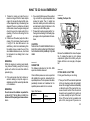
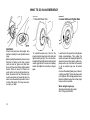
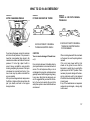
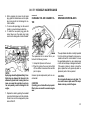
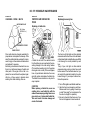
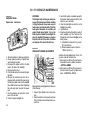
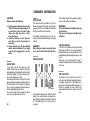
7. Re-install Wheel Nuts
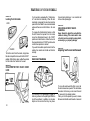
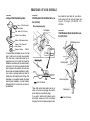
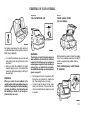
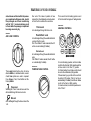
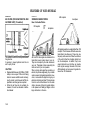
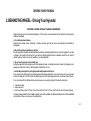
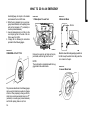
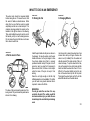
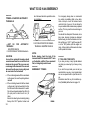
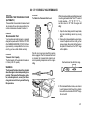
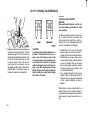
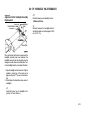
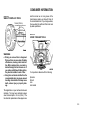
8. Lower Vehlcle and Tighten Nuts
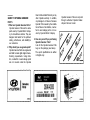
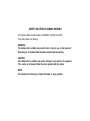
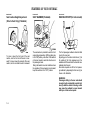
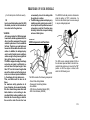
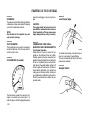
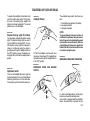
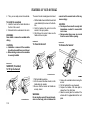
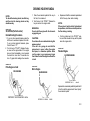
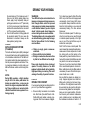
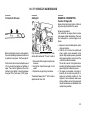
To re-install the wheel cover, hold it on the
wheel and put the wheel nuts on the studs and
tighten them finger tight. The nuts should be
installed with their small diameter ends directed
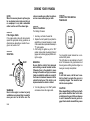
inward. Jiggle the tire to be sure it is completely
seated, then tighten the nuts with your fingers
again.
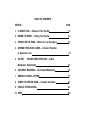
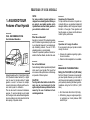
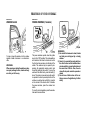
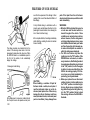
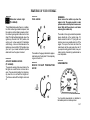
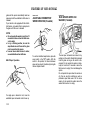
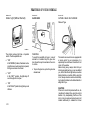
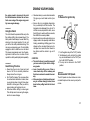
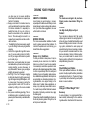
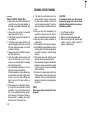
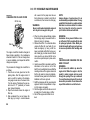
Lower the car to the ground by tuming the jack
handle counterclockwise. Then position the
wrench as shown in the drawing and tighten the
wheel nuts. Be sure the socket is seated completely over the nut. do not stand on the wrench
or use an extension pipe over the wrench
handle.
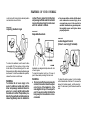
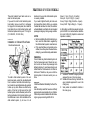
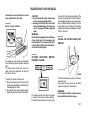
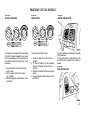
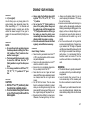
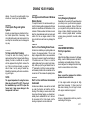
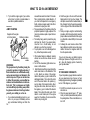
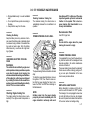
Go around the wheel tightening every other unt
until they are all tight. Then double-check each
nut for tightness. After changing wheels, have a
technician tighten the wheel nuts to their proper
torque as soon as possible.
Wheel nut tightening torque:
Steel wheel & aluminium alloy wheel:
900-1,100 kg.cm (65-80 Ib.ft)