1
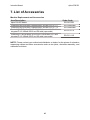
αlpha-CON 550
Instruction Manual
5.5 Configuration Settings
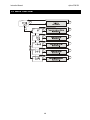
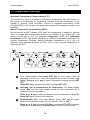
Configuration settings let you select between 2-cell & 4-cell and reset the monitor to
factory defaults.
1
SETUP
HOLD
SETUP
3
2
ENT
SETUP
ENT
HOLD
HOLD
This screen appears only
when 2-cell is selected
and measuring range is set to
0.0 to 200.0 mS/cm
2
SETUP
R.
ENT
HOLD
4
ENT
SETUP
ENT
HOLD
4
SETUP
ENT
HOLD
4
SETUP
ENT
HOLD
MEAS
READY
µS
°C
ATC
1
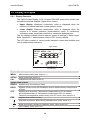
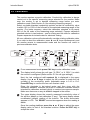
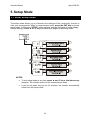
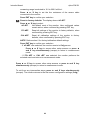
From measurement mode press ENT key to enter setup mode as
described in section 5.1. The LCD shows the first screen of setup mode
(rAng). Press ▲ or ▼ key to select configuration settings screen
(Cnfg).
Press ENT key to access configuration settings (Cnfg).
2
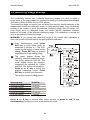
Select cell type of the sensor: The lower display shows ‘CEL’. The
upper display shows the last configured cell type (‘2’ or ‘4’).
Press ▲ or ▼ key to select the cell type of your conductivity probe.
Press ENT key to confirm your selection.
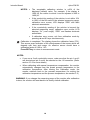
NOTE: If you use a 2-cell conductivity sensor, make sure that the pin 1
and 2 are shorted and pin 3 and 4 are shorted on the J10 connector.
(Refer section 2.3.3 for more details)
3
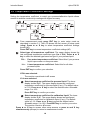
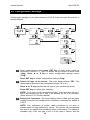
Setting line resistance: The lower display shows ‘L.Ad’ and the upper
display shows the last configured line resistance; otherwise the default is
0.00 R.
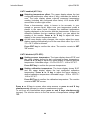
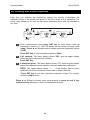
NOTE: Line resistance of sensor cable constitutes to an error in
measurement of high conductivity values. The monitor will compensate
this error if you specify line resistance value in this setting. The setting is
available only if the cell type is set to 2-cell (step 3 above) and the
22