1
Removal and Replacement Procedures - Ultra-Slim Desktop (USDT) Chassis
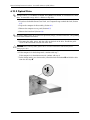
8.8 Chassis Fan
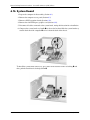
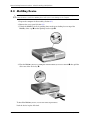
1. Prepare the computer for disassembly (Section 8.1).
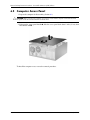
2. Remove the computer access panel (Section 8.3).
3. Remove any MultiBay device in the drive cage (Section 8.4).
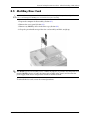
4. Remove the MultiBay riser card (Section 8.5).
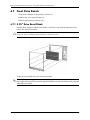
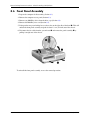
5. Remove the front panel assembly (Section 8.6)
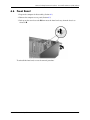
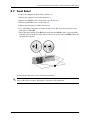
6. Remove the front bezel (Section 8.7).
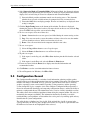
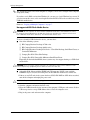
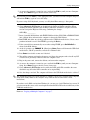
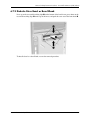
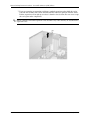
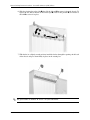
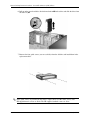
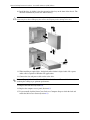
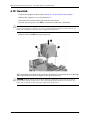
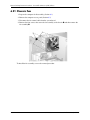
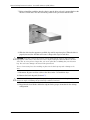
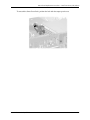
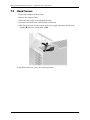
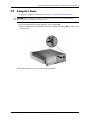
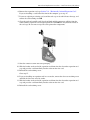
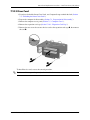
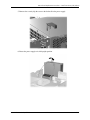
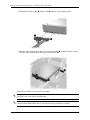
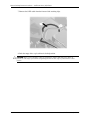
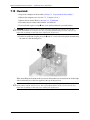
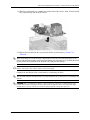
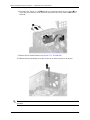
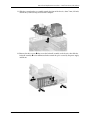
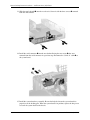
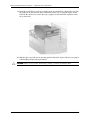
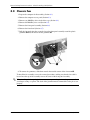
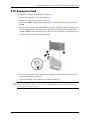
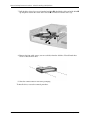
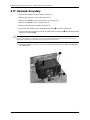
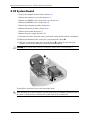
7. Pull the four push pins that secure the fan to the front panel assembly out of the plastic
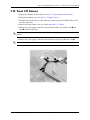
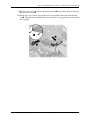
grommets 1 then, lift the fan off the grommets 2.
8. To remove the grommets, slide them towards the outside corners of the fan cutout 3.
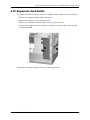
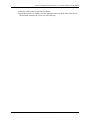
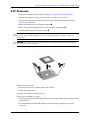
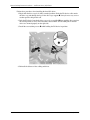
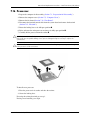
To install the fan assembly, reverse the removal procedures, making sure that the fan cable is
located near the top of the assembly nearest the center of the front panel assembly.
installing the four push pins it is necessary to squeeze the pins into the grommets with
✎ When
your fingers acting as a pincer. The back of the grommet must be immovable for the pin to seat
properly.
8–10
361288-003
Service Reference Guide, dc7100