1
USB Configuration
To communicate with the NDC-4, the COM port number
that Windows™ has allocated to the USB port needs to be
determined. The following guide will walk the user through
this standard operation.
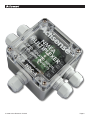
The Actisense NMEA Data Multiplexer, NDC-4 is
completely USB port independent: it can be easily
unplugged from one USB port and connected to another
available USB port on the same PC without the COM Port
number changing.
This is very useful when the NDC-4 is working in unison
with a software program that is set up to use a particular
COM port, as the user does not need to reselect a
different COM port everytime the PC reboots, or the cable
is swapped between two USB ports.
Step by step guide
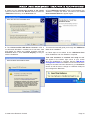
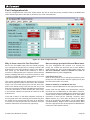
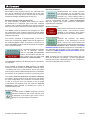
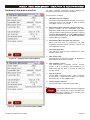
1. Make sure the Actisense NDC-4 is powered up
(indicated by a green LED) and connected to an available
USB port on the PC. From the Windows™ ‘Control
Panel’, open the ‘System Properties’ window and click
on the ‘Hardware’ tab.
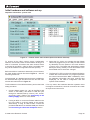
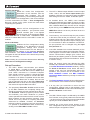
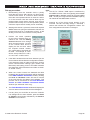
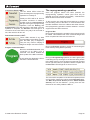
3. Double click on the port icon for the ‘Actisense NDC
USB Serial Port’ and the port properties window will
appear. Click on the ‘Port Settings’ tab. Select a Baud
rate of 38400 for the ‘Bits per second’ option. This is the
fixed Baud rate for the Actisense NDC-4 device. Leave
the other settings as they are.
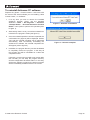
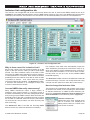
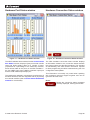
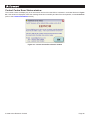
4. Click on the ‘Advanced’ button and choose a different
COM Port number if required (to make it compatible with
the software requiring the NDC-4 NMEA data).
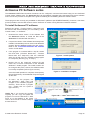
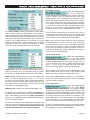
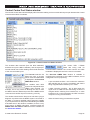
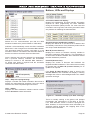
2. Click on ‘Device Manager’ and expand the ‘Ports (COM
& LPT)’ list by clicking on the ‘+’ sign next to it. You will find
the ‘Actisense NDC USB Serial Port’ in the list, followed
by the allocated COM port number.
© 2009 Active Research Limited
The other settings are already optimised for the Actisense
NDC-4 and should be left in the default values. Click on
‘OK’ button to save the new settings.
Page 14