1
Adjusting the Latitude
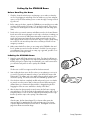
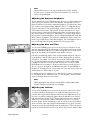
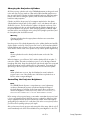
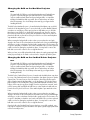
You can set the STARLAB projector to view the sky from any location in the northern
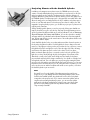
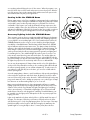
or southern hemisphere (from the pole to the equator) by tilting the projector support plate and using the Latitude Adjustment Bar found on the right-hand side of the
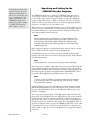
projector. Look at the accompanying graphic. Below the latitude bar is a distorted
map with latitude lines drawn every 15 degrees. When the projector is straight up
and down, you are at the pole. When it’s tilted all the way over to one side, you
are at the equator. Decide what latitude you wish to view the sky from and calculate
where it would be on the map using the marked latitude lines as a guide. If need be,
estimate the position by interpolating between the marked lines. Tilt the entire projector platform until the desired location lines up with the edge of the bar marked “align
location with this edge.” The cylinder stays tilted due to friction and will stay in this
position until you change it.
The projector is set for 60 degrees latitude.
Note
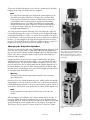
When tilting the cylinder, always use the two metal brackets on the two
sides of the projector and never push directly on the cylinder because it may
damage it. When changing cylinders, always reset the projector to the polar
position.
Earth Rotation Control
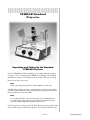
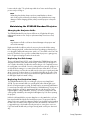
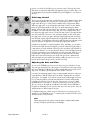
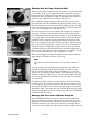
The STARLAB FiberArc has a variable speed motor and a selector switch to control
the direction of Earth’s rotation to match that of either the northern or southern hemisphere. The platform rotation switch is a toggle near the center of the projector control panel. Flipping the switch up to the “Northern Hemisphere” position causes the
cylinder to rotate in a clockwise direction. Flipping the switch down to the “Southern
Hemisphere” position causes the cylinder to rotate in a counterclockwise direction.
The speed of the rotation is controlled by the knob labeled “Motor Speed” located
directly to the right of the direction control switch. Turning the dial clockwise increases
the speed and counterclockwise decreases the speed. When the knob is completely
counterclockwise (off), you can also move the projection cylinder manually by rotating the bottom of the clear plastic cylinder support plate.
Note
Rotating the projector at maximum speed may cause some individuals to
experience motion sickness.
Using the Cardinal Points and Meridian Projectors
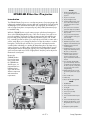
The STARLAB FiberArc Projector has two accessory projectors built into it to allow you
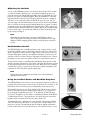
to add specific reference points to the projections on the dome. The two knobs on the
left-hand side of the front of the projector, independently control each projector.
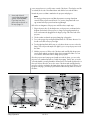
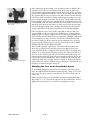
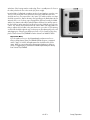
The Cardinal Points Projector is built into the base of the FiberArc Projector directly
below the clear plastic projection cylinder platform. When it is on, it projects letters showing the 8 cardinal directions (N, S, E, W, NE, NW, SE and SW) along
the horizon. The brightness of these letters is controlled by the dimmer knob labeled
“Cardinal Points Projector”. Turning the knob in a clockwise direction increases the
brightness while a counterclockwise direction dims it down to off.
The Meridian Projector is attached to the support bracket found along the lefthand
side of the FiberArc Projector. When it is on, it projects a scale (at 5 degree increments) across the top of the planetarium dome showing the angular measurement
from the northern horizon to the zenith and across to the southern horizon. It is very
• A-21 •
Set-up/Operation