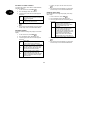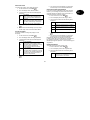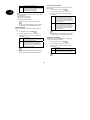
1
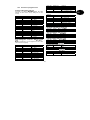
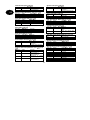
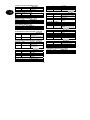
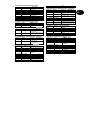
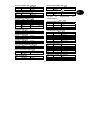
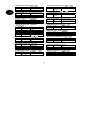
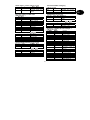
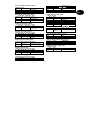
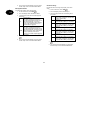
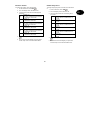
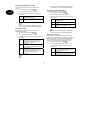
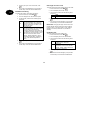
153 Additional outputs
160 Time-confirmed alarm
Additional output 3
To change the settings:
1. On the control unit, enter: 160
154 Additional outputs
Additional output 4
2. The LCD display shows: 160:Confrm t=30
155 Additional outputs
3. Via the keypad, select from the following items
and press:
Additional output 5
156 Additional outputs
Additional output 6
000999
157 Additional outputs
Additional output 7
158 Additional outputs
Additional output 8
4. Confirm your input. On the control unit, enter:
.
159 Inverting additional outputs
You can also invert the additional transistor outputs for
different applications. In inverted state, the voltage of
+12V is applied in active state – e.g.: for addressing a
visual signal.
1. On the control unit, enter: 159
161 Confirm internal loudspeaker
To change the settings:
1. On the control unit, enter: 161
2. The LCD display shows: 161:Conf Int OFF
2. The LCD display shows: 159: INV Pgby OFF
3. Via the keypad, select from the following items
and press:
3. Via the keypad, select from the following items
and press:
00
01
Bestät=000-999
The timer starts when an alarm has
been triggered for the first time. If
another alarm is triggered before the
time has expired then the alarm centre
transmits a confirmed alarm to the
central station (command 89=1)
0
inv Pgby OFF
+12V voltage is removed for activating
the output. In deactivated state, the
output is set to +12V.
Inv Pgby ON
+12V voltage is applied for activating
the output. In deactivated state, the
output is set to ground.
1
Conf Int OFF
Internal loudspeaker is on for
unconfirmed alarm (command 89=1)
Conf Int OFF
Internal loudspeaker is on for confirmed
alarm (command 89=1)
4. Confirm your input. On the control unit, enter:
.
4. Confirm your input. On the control unit, enter:
.
5. The control unit acknowledges your input with a
double “beep” tone and shows Installer Mode.
79
UK