1
Back to Contents Page
About Your Dell™ Dimension™ 5100 Computer Dell™ Dimension™ 5100 Service Manual
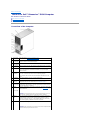
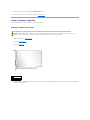
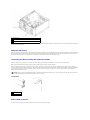
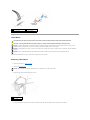
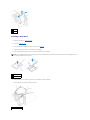
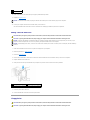
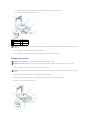
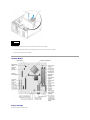
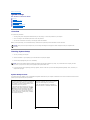
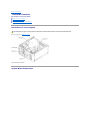
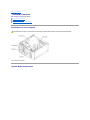
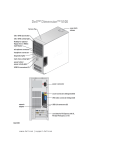
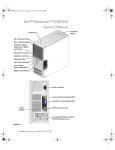
Front View of the Computer
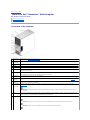
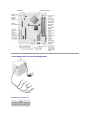
Back View of the Computer
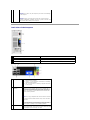
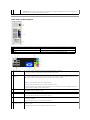
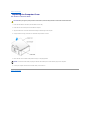
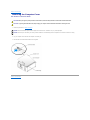
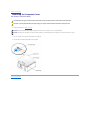
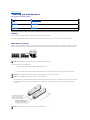
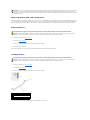
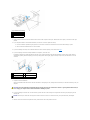
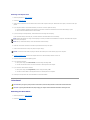
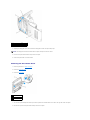
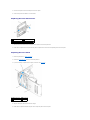
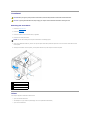
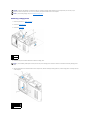
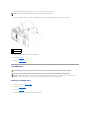
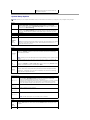
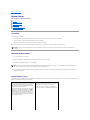
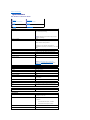
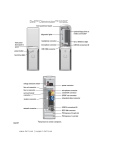
Front View of the Computer
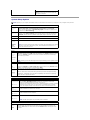
1
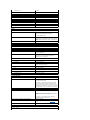
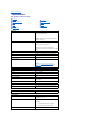
cover latch
release
Use this latch to remove the computer cover.
2
location of
Service Tag
Use the Service Tag to identify your computer when you access the Dell
Support website or call technical support.
3
CD or DVD
eject button
Press to eject a disk from the CD or DVD drive.
4
CD or DVD
activity light
The drive light is on when the computer reads data from the CD or DVD
drive.
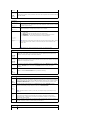
5
FlexBay
Can contain an optional floppy drive or optional Media Card Reader. For
more information about the Media Card Reader, see your computer
Owner's Manual.
6
microphone
connector
Use the microphone connector to attach a personal computer microphone
for voice or musical input into a sound or telephony program.
On computers with a sound card, the microphone connector is on the
card.
7
headphone
connector
Use the headphone connector to attach headphones.
8
diagnostic
lights (4)
Use the lights to help you troubleshoot a computer problem based on the
diagnostic code. For more information, see "Diagnostic Lights."
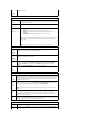
9
hard-drive
activity light
The hard drive activity light is on when the computer reads data from or
writes data to the hard drive. The light might also be on when a device
such as a CD player is operating.
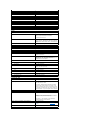
10 power
button,
Press the power button to turn on the computer. The power light in the
center of this button indicates the power state. See "Specifications" for
more information.
power light
NOTICE: To avoid losing data, do not use the power button to turn off
the computer. Instead, perform an operating system shutdown.
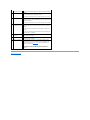
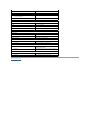
11 USB 2.0
connectors
(2)
Use the front USB connectors for devices that you connect occasionally,
such as joysticks or cameras. It is recommended that you use the back
USB connectors for devices that typically remain connected, such as
printers, keyboards, and mice, or for bootable USB devices, which may
not function properly if attached to the front connectors.
12 vents
For adequate cooling, do not block any of the vents.
NOTICE: Ensure that there is a minimum of two inches of space between
all vents and any object near these vents.