1
V1503P1Z.NA6ITTA/S_38U
8/18/06
9:35 AM
Page 18
Before Operation-DVD part
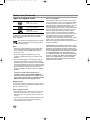
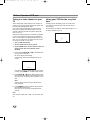
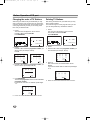
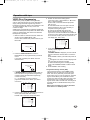
LANGUAGE
Progressive Scan
Progressive Scan Video provides the highest quality pictures with less flickering.
If you are using the Component Video jacks for connection to a TV or monitor that is compatible with a progressive scan signal, set Progressive Scan to On.
LANGUAGE
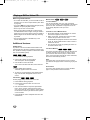
Menu Language
English
Disc Audio
Original
Disc Subtitle
Off
Disc Menu
Original
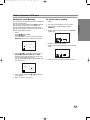
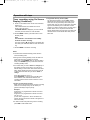
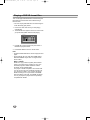
To turn On progressive scan:
Move
Select
Menu Language
Select a language for the VCR and DVD’s setup menu
and information display.
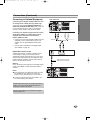
Connect component out of this unit to the input of your
monitor/television, set your television or monitor to
Component Input.
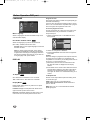
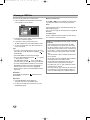
1. Select “Progressive Scan” on the DISPLAY menu
then press B.
DISPLAY
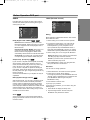
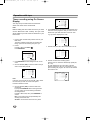
Disc Audio / Subtitle / Menu
TV Aspect
DVD
Display Mode
Select the language you prefer for the audio track
(disc audio), subtitles, and the disc menu.
Original: Refers to the original language in which the
disc was recorded.
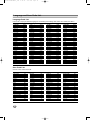
Other: To select another language, press number
buttons then ENTER/OK to enter the corresponding
4-digit number according to the language code list in
the reference chapter (see page 36). If you enter the
wrong language code, press CLEAR.
DISPLAY
DISPLAY
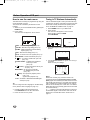
TV Aspect
16 : 9
Display Mode
Widescreen
Progressive Scan
Off
TV Output Select
RGB
Move
TV Aspect
Select
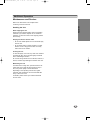
4:3 : Select when a standard 4:3 TV is connected.
16:9 : Select when a 16:9 wide TV is connected.
DVD
Display Mode setting works only when the TV Aspect
mode is set to “4:3”.
Letterbox: Displays a wide picture with bands on the
upper and lower portions of the screen.
Panscan: Automatically displays the wide picture on the
entire screen and cuts off the portions that do not fit.
18
On
TV Output Select
Off
Prev.
Move
Enter
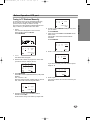
2. Select “On” using the v / V buttons.
3. Pressing ENTER/OK will set this unit to Progressive
scan mode.
Caution:
Once the setting for progressive scan output is entered,
an image will only be visible on a progressive scan
compatible TV or monitor. If you set Progressive Scan to
On in error, you must reset the unit.
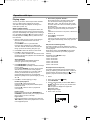
1) Remove any disc from the unit and close the disc
tray. See that “DISC” is displayed on the display
window.
DVD
Display Mode
Progressive Scan
2) Press STOP on the remote control and hold it for five
seconds before releasing it. The video output will be
restored to the standard setting and a picture will
once again be visible on a conventional analog TV or
monitor.
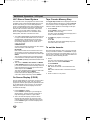
TV Output Select
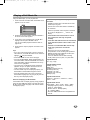
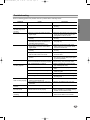
Set this unit TV Output Select options according to the
TV connection type.
YPbPr: When your TV is connected with the
COMPONENT/PROGRESSIVE SCAN VIDEO OUT
jacks on this unit.
RGB: When your TV is connected with the SCART
(RGB signal) jack.