1
5: More Creative Control (continued)
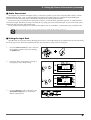
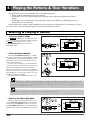
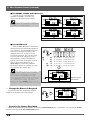
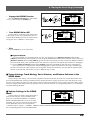
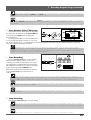
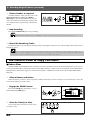
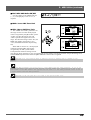
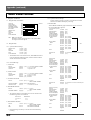
5 Check the Recorded Sample
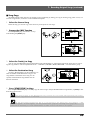
Play the micro-keyboard to hear how the recorded sample sounds. If the results are not satisfactory, go back to step 3 and
record again. Or go back to step 2, select the next SAMPLING VOICE number, and record the next sample.
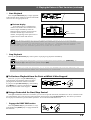
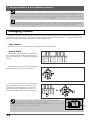
Depending on the type of sound being recorded, the beginning or “attack” of the sound may not
DETAIL
be recorded.
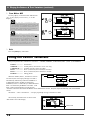
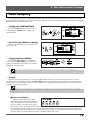
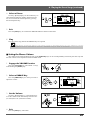
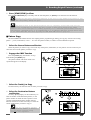
6 Exit
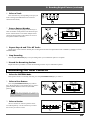
When you’re satisfied with the recorded sample, press the [EXIT] key to exit from the SAMPLING mode.
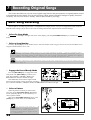
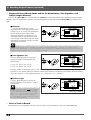
■ Setting the Sampling Frequency
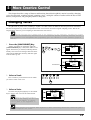
The length of the sample you can record and
its sound quality are determined by the “sampling
frequency”. Higher sampling frequencies produce
better sound quality but shorter samples; lower
sampling frequencies allow longer recording but
with reduced sound quality. The QR10 gives you
four sampling frequency settings:
Setting
Length
Sound Quality
F1
3.2 sec.
Lowest
F2
2.0 sec.
•
F3
1.2 sec.
•
F4
0.8 sec.
Highest
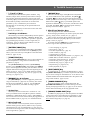
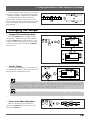
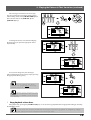
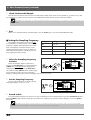
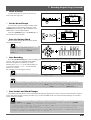
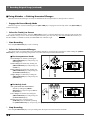
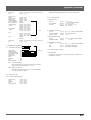
1 Select the Sampling Frequency
Function.
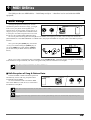
Select the sampling frequency function by
pressing the [SAMPLING] key while holding the
[SHIFT] key a second time after engaging the
sampling mode (or simply press [SAMPLING]
twice while holding [SHIFT] when initially engaging the sampling mode). The current sampling
frequency setting will appear on the lower display line (F1, F2, F3, or F4).
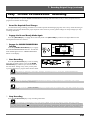
2 Set the Sampling Frequency
Use the [–1] and [+1] keys to set the required
sampling frequency: F1, F2, F3, or F4.
3 Record or Exit
Once the sampling frequency has been set you can go ahead and record as described above (pressing [SAMPLING] while
holding [SHIFT] again from this mode takes you back to the sampling voice number selection display), or press the [EXIT]
key to exit.
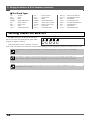
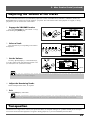
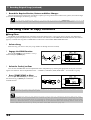
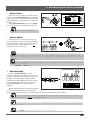
Sampled voice data can be saved to an external MIDI data recorder such as the Yamaha MDF2
DETAIL
MIDI Data Filer in addition to the pattern and song data (page 43).
20