1
INSTALLATION, Cont.
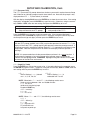
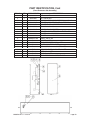
Load Cell Cable Connection for RFI Suppression
CAUTION! Disconnect any external load cell power supply before connecting
load cells to the instrument. Failure to do so will result in permanent damage to
the instrument.
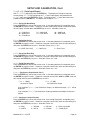
To eliminate RFI, the load cell cable should be routed through the special metallic gland
connector and the shield wire from the load cell cable must be connected to this gland
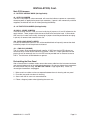
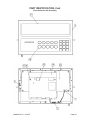
connector for grounding. Refer to Figure No. 2 for the gland connector layout.
1. Remove the 16 acorn nuts securing the rear panel to the main housing.
2. Loosen and remove the metal gland connector nut and remove the plastic insert.
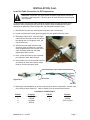
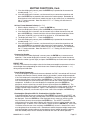
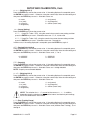
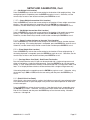
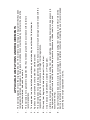
3. Referring to Figure No. 3, route the single
cable from the load cell or load cell junction
box through the nut and plastic insert and
into the enclosure.
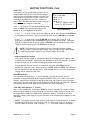
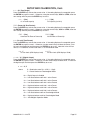
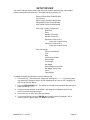
4. With the load cell cable routed into the
enclosure, refer to Figure No. 4 and then
remove approximately 5 to 6 inches of the
outer insulating jacket from the cable
exposing the internal wires.
5. Next, cut the shield wire so that it extends
past the outer jacket about 3/4 inch.
6. Now, remove 1/4 inch of insulation from the
end of each of the 4 wires (without sense
leads) or 6 wires with sense leads.
Figure No. 3
5 to 6 inches
3/4 inch
Figure No. 4
1/4 inch
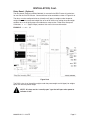
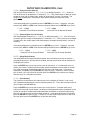
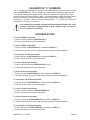
7. Referring to the table below (or on the circuit board) for terminal connections, connect each
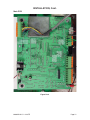
of the wires to terminal block P1. Refer to Figure No. 9 for terminal block location.
LOAD CELL CONNECTOR P1
PIN NO.
1
2
3
4
Function
+ EXCITATION
+ SENSE
+ SIGNAL
SHEILD
8200-M242-O1 y 210-FE
PIN NO.
5
6
7
Function
- SIGNAL
- SENSE
- EXCITATION
Page 7