1
7
EFKA AB220A/320A FP220A/320A
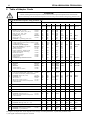
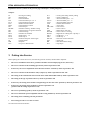
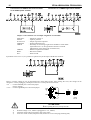
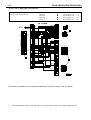
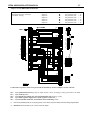
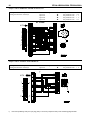
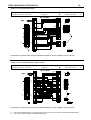
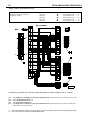
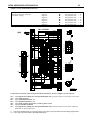
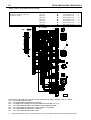
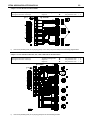
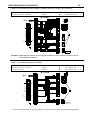
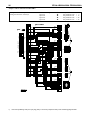
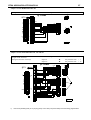
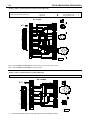
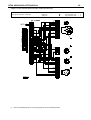
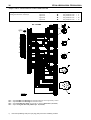
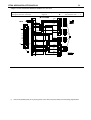
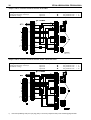
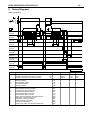
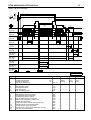
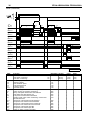
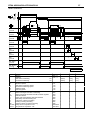
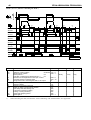
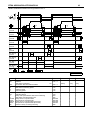
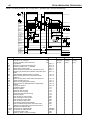
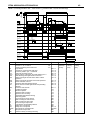
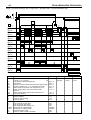
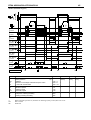
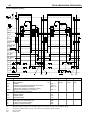
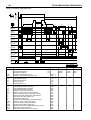
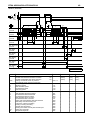
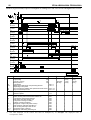
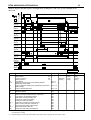
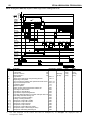
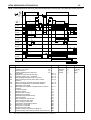
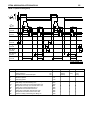
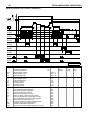
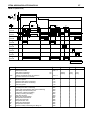
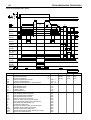
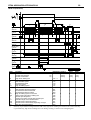
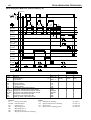
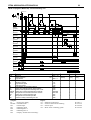
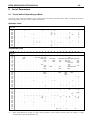
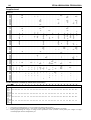
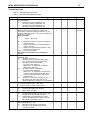
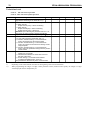
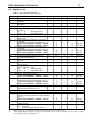
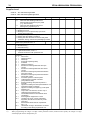
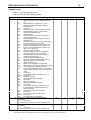
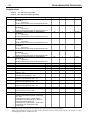
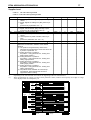
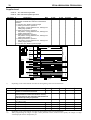
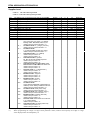
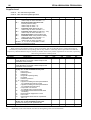
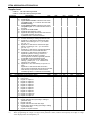
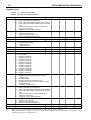
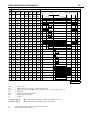
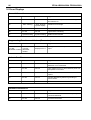
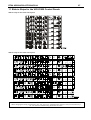
Explanation of letter symbols of the previous page and chapter ”Timing Diagrams“
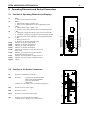
Outputs:
FL
VR
FA
FA2
FA-V
FAU
FSPL
FW
ML/NK
RB
KB
MST
PD≥1
PD=0
L-STL
FZ
IMP
LFA
= Sewing foot lifting
= Backtacking
= Thread trimmer
= Thread trimmer pos. 1A...2
= Thread trimmer forward
= Bobbin thread trimmer
= Thread tension release
= Thread wiper
= Machine running / Needle cooling
= Chain blowing in opposite direction
= Chain blowing
= Machine at standstill
= Pedal steps 1...12
= Pedal step 0
= Indicator lamp for stitch length
= Thread puller
= Impulse
= Top cover thread cutter
FL1
STV
FA1
FA1+2
FA-R
FAO
AH
AH1/AH2
KS
STB
KS+KB
HP/FF1
PD≤-1
PD-2
DR-UK
STS
BR
FF2
= Sewing foot lifting without pulsing
= Stitch condensing
= Thread trimmer pos. 1...1A
= Thread trimmer pos. 1...2
= Thread trimmer backward
= Needle thread trimmer
= Tape cutter
= Fast scissors
= Chain suction
= Blow fabric onto stack
= Chain suction + blowing
= High lift for walking foot / flip-flop 1
= Pedal steps –1 / -2
= Pedal step -2
= Reversal of motor direction
= Stitch lock
= Hot thread chain cutting
= Flip-flop 2
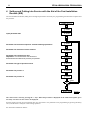
3 Putting into Service
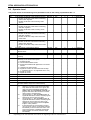
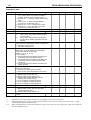
Before putting the control into service, the following must be ensured, checked and/or adjusted:
§
The correct installation of the drive, position transmitter and accompanying devices, if necessary
§
The correct selection of the trimming operation by means of parameter 290
§
If necessary, the correct adjustment of the direction of motor rotation by means of parameter 161
§
The correct selection of the functions of keys (inputs) by means of parameters 240...249
§
The setting of the transmission ratio between motor shaft and machine shaft by means of parameter 272
§
The setting of the type of position sensor by means of parameter 270
§
If necessary, the setting of the number of angular degrees after the sensor position by means of parameter 271
§
If necessary, the setting of the positions by means of parameter 171
(possible with all settings of parameter 270)
§
The correct positioning speed by means of parameter 110
§
The correct maximum speed compatible with the sewing machine by means of parameter 111
§
The setting of the remaining relevant parameters
§
Start sewing in order to save the set values
See instruction manual for details!