1
Inserting the Date and Time
You can insert the shooting date and time in the lower right corner of an
image. Once inserted, however, they cannot be deleted. Be sure to check
beforehand that the date and time are correctly set (p. 16).
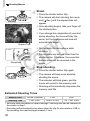
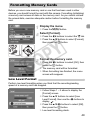
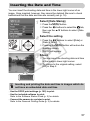
Select [Date Stamp].
● Press the n button.
● Press the qr buttons to select the 4 tab,
then use the op buttons to select [Date
Stamp].
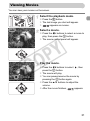
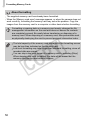
Select the setting.
● Press the qr buttons to select [Date] or
[Date & Time].
Y
P
O
● Pressing the n button will restore the
shooting screen.
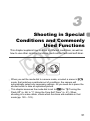
X [DATE] will appear.
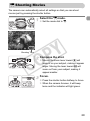
Shoot.
C
X You can insert the shooting date and time
in the image’s lower right corner.
● To restore to the original setting, select
[Off] in Step 2.
Inserting and printing the date and time in images which do
not have an embedded date and time
• Use the DPOF print settings (p. 102) to print.
• Use the included software to print.
Refer to the Software Starter Guide (p. 2) for details.
• Connect the camera to a printer to print.
Refer to the Personal Printing Guide (p. 2) for details.
57