1
CHAPTER 6: USING THE RMS SOFTWARE
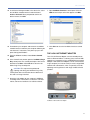
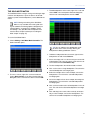
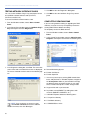
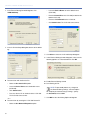
7. To mute and solo loudspeakers.
■
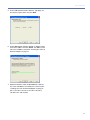
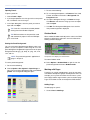
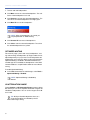
Click Mute to mute the selected loudspeakers. The cells
for the muted loudspeakers turn red.
■
Click Unmute to unmute the selected loudspeakers. The
cells for the unmuted loudspeakers turn bright green.
■
Click Mute All to mute all loudspeakers.
NOTE: When all loudspeakers are muted, you
are prompted with an RMS Warning.
■
Click Unmute All to unmute all loudspeakers.
■
Click Solo to solo the selected loudspeaker. The cell for
the soloed loudspeaker turns yellow.
OPTIMIZED MUTING
For extremely large systems with many loudspeakers, muting and unmuting all loudspeakers (or large numbers of multiple loudspeakers) may encounter a small delay before the
loudspeakers are muted. This delay can be minimized when
Optimized Muting is enabled in the RMS Network Server
and Manager. Once enabled, the loudspeakers in the RMS
network databases are optimized to allow for more efficient
muting.
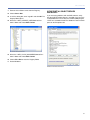
To enable Optimized Muting:
■
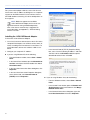
In the RMS Network Server and Manager, select Tools >
Optimized Muting > Enabled.
NOTE: Optimized Muting is disabled by
default.
UX ATTENUATION RANGE
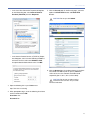
Choose Options > UX Attenuation Range to open a dialog
box where you can set the amplifier attenuation range for all
UltraSeries loudspeakers. You can set the range to 0–18 dB
or 0–12 dB.
TIP: All Meyer Sound loudspeakers that use a
UX or UPM amplifier are affected by the UX
Attenuation Range setting.
52