1
Enabling DMA
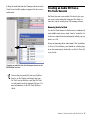
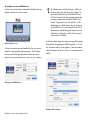
To configure Windows Power Management:
Enabling your computer's DMA (Direct Memory Access)
frees up CPU bandwidth so the computer can do other
Pro Tools tasks.
1 Choose Start > Control Panel.
In most cases the DMA option will already be set correctly, as Windows XP detects and activates DMA mode
by default.
4 From the Power Schemes pop-up menu, select Always
On.
To enable DMA for any IDE hard drives:
1 Choose Start > Control Panel.
2 Double-click Power Options.
3 Click the Power Schemes tab.
5 Click OK.
This sets System Standby, System Hibernate, and “Turn
off hard disks” to Never.
2 In Classic View, double-click System.
On AMD processors, be sure to check and disable Cool N’Quiet in the System BIOS (in the
Cool & Quiet Configuration section). Refer to
the manufacturer’s documentation for instructions on disabling this power option, if necessary.
3 Click the Hardware tab.
4 Under Device Manager, choose Device Manager.
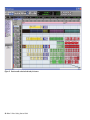
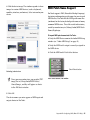
5 In the Device Manager window, double-click IDE
ATA/ATAPI controllers, then double-click the Primary IDE
Channel for your IDE hard drive.
6 Click the Advanced Settings tab.
Disabling ClearType Font Smoothing
7 For each device, set the Transfer Mode to “DMA if avail-
When using Pro Tools, the Effects “Clear Type” setting
must be disabled.
able,” and click OK.
8 Repeat steps 5–7 for any additional IDE Channels.
9 Close the Device Manager window and then the Sys-
tem Properties window.
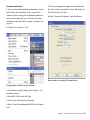
To disable ClearType font smoothing:
1 Choose Start > Control Panel.
2 Double-click Display.
Disabling System Standby and Power
Management
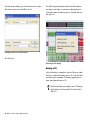
When using Pro Tools, the Windows System Standby
power scheme must be set to Always On. This helps prevent long record or playback passes from stopping due
to system resources powering down.
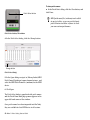
3 Click the Appearance tab.
4 Click Effects.
5 Deselect “Use the following method to smooth edges of
screen fonts.”
6 Click OK to save your settings and close the Effects di-
alog.
7 Click OK.
8 Restart the computer.
28 Mbox 2 Micro Getting Started Guide