1
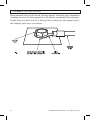
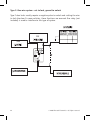
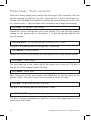
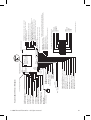
Wait-to-start bulb wire for diesels
Note: The system has a programmable onboard timer (See Menu#3 Feature 9), so
it is not necessary to connect the wait-to-start wire.
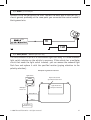
In diesel vehicles you can interface with the wire that turns on the WAIT-TOSTART light in the dashboard. This wire illuminates the bulb until the vehicle’s
glow plugs are properly heated. When the light goes out the vehicle can be
started. This wire is always available at the connector leading to the bulb in
the dashboard. It can also be found at the Engine Control Module (ECM) in many
vehicles.
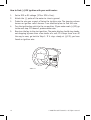
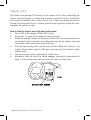
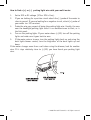
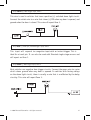
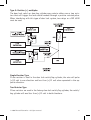
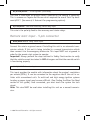
To test for polarity of the wait-to-start wire:
1. Set your multi meter to DCV or DC voltage (12 or 20V is fine).
2. Attach the (+) probe of the meter to (+)12V.
3. Probe the wire that you suspect leads to the bulb with the (-) probe of the
meter.
4. Turn the ignition switch to the ON position.
5. If the meter indicates 12 volts until the light goes out, you have isolated
the correct wire. The wire's polarity is negative (ground while the bulb is
on).
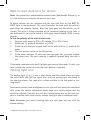
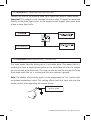
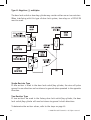
If the meter reads zero volts until the light goes out and then reads 12 volts, you
have isolated the correct wire and the wire's polarity is positive.
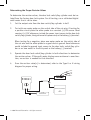
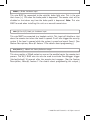
Parking light wire
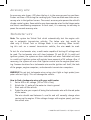
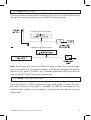
The parking light (+) or (-) wire is often found near the switch. Many cars have
the switch built into the turn signal lever, with the parking light wire found in
the steering column. The same wire is often available in the kick panel or running board.
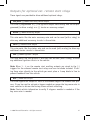
Some newer vehicles have multiplexed circuits that will also need to be interfaced
with (check the vehicle information sheet) these cars usually require that the
switch be isolated (5 wired), this unit has a white/brown wire on the main harness to interface with these circuits without having to add an additional relay.
Note: Remember, you need a parking light wire that does not vary with the
dimmer setting.
© 2008 Directed Electronics—all rights reserved
17