1
Rimage DLN5200/DL5200
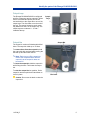
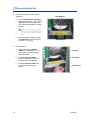
5. If necessary, perform a front to back
alignment.
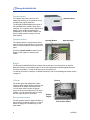
Disc Retainer
a. Turn the front to back alignment
screw until there is a 1/16” (1.5mm)
gap between the front edge of the
disc and the raised edge of the disc
retainer.
# Tip: You can use the T25 Torx
driver, or 5/32” Allen wrench, to
turn the front to back alignment
screw.
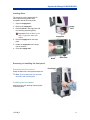
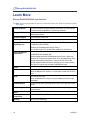
b. When the printer is aligned, rotate
the lead screw to raise the lift arm
up about 1.0” (2.5 cm).
Gap Distance
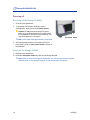
6. Exit diagnostics.
a. Press and hold the operator
button to exit diagnostic 4. The
disc is lifted up to the top output
tray and released.
b. Press the operator button
fourteen times and hold on the
last press to exit diagnostics.
c.
14
Press the operator button one
more time to close the print
drawer.
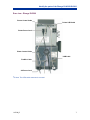
Lift Arm
Print Pad
Lead Screw
110768_D