1
Chapter 3 - Robot Installation
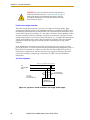
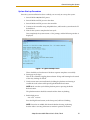
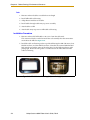
WARNING: Pinch hazard. Ball joints are spring-loaded. Be
careful not to pinch your fingers.
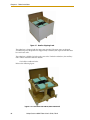
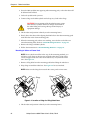
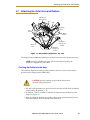
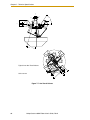
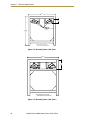
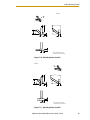
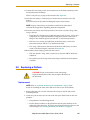
Figure 3-9. Installing Ball Joints
CAUTION: Do not overstretch the outer arm springs.
Separate the ball joint sockets only enough to fit them over
the ball studs.
NOTE: In the following steps, take care not to trap debris between the
balls and their sockets.
1. Attach one pair of outer arms to each inner arm.
a. As illustrated in Figure 3-9, the outer arm assembly is most easily achieved
by pivoting the two arms away from each other lengthwise. This requires the
least stretching of the spring to attach the ball joints.
b. Slip one ball joint socket over the corresponding ball.
c. Swing the bottom end of the outer arm pair sideways as you slip the other
ball joint socket over the corresponding ball.
2. Attach one pair of outer arms to each of the four pairs of ball studs on the
platform.
NOTE: Ensure that the numbers on the platform match the numbers on
the underside of the robot base. This will place the platform tool flange
closest to the Status Display Panel. See “Clocking the Platform to the Base”
on page 45. The platform is installed flange-down.
a. Swing the bottom end of the outer arm pair to the right, as far as possible.
b. Slip the left ball joint socket over the left ball stud. (Move the platform as
needed to do this.)
48
Adept Quattro s650H Robot User’s Guide, Rev A