1
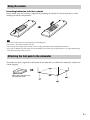
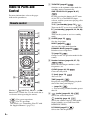
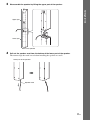
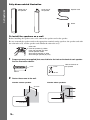
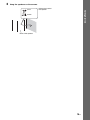
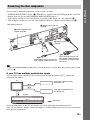
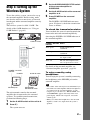
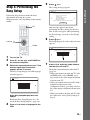
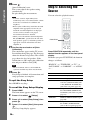
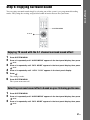
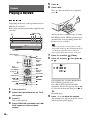
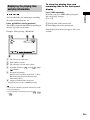
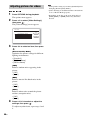
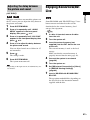
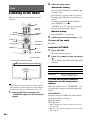
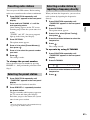
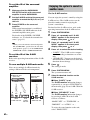
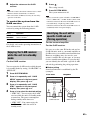
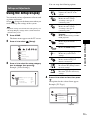
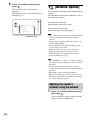
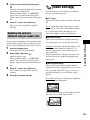
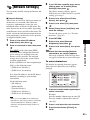
or c.
Press
The setting message appears.
Getting Started
Step 4: Performing the
Easy Setup
5
Easy Setup
Set the items below required to use this unit.
Each of these items may be changed later under "Setup."
Follow the Steps below to make the basic
adjustments for using the system.
Displayed items vary depending on the country
model.
- Select the TV connection method
- Select the TV type
- Select the BD Internet Connection
- Select the Standby Mode
- Execute the Auto Calibration
Check that all cables, etc. have been connected and then start.
Start
"/1
1
2
3
4
5
6
7
8
9
This message appears only when
performing the [Easy Setup] for the first
time. It does not appear when performing
the [Easy Setup] accessed via the [Setup]
setting.
0
6
C/X/x/c,
Press
or c.
The Setup Display for video cable selection
appears.
HOME
Easy Setup - TV Connection Method
Select the video cable connecting this unit and the TV.
Component Video
Video
1
2
3
Turn on the TV.
Press [/1 on the unit, and POWER on
the surround amplifier.
Switch the input selector on your TV so
that the signal from the system
appears on the TV screen.
The Easy Setup Display for OSD language
selection appears.
Easy Setup - OSD
Select the language to be displayed by this unit.
English
Deutsch
Français
Italiano
Español
If the Easy Setup Display does not
appear
Recall the Easy Setup Display. See “To
recall the Easy Setup Display” (page 36).
4
7
Press X/x to select the cable used to
connect the unit and TV.
Check the connection of the unit and TV
(page 22).
• When you connect the unit and TV with
an HDMI cable, select [HDMI], go to
Step 8 and set the video output resolution
to match your TV.
• When you connect the unit and TV with a
component video cord, select
[Component Video], go to Step 8 and set
the video output resolution to match your
TV.
• When you connect the unit and TV with
the video cord, select [Video] and go to
Step 9.
Press X/x to select a language for the
OSD.
33GB