1
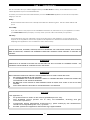
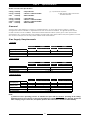
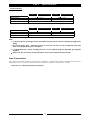
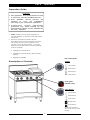
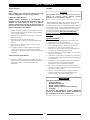
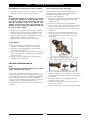
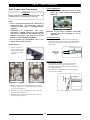
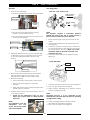
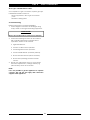
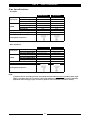
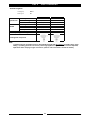
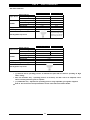
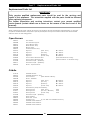
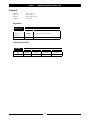
Part 6 Gas Conversion Low Fire Adjustment Gas Conversion Procedure Adjust low fire adjustment screw on open burner gas control valves to obtain desired flame size. C AUTI ON : Ensure that the unit is isolated from the gas supply before commencing servicing. NOTE: These conversions should only be carried out by qualified persons. All connections must be checked for leaks before re-commissioning the appliance. Low Fire Adjustment Screw Adjustment of components that have adjustments / settings sealed (e.g. paint sealed) can only be adjusted in accordance with the following instructions and shall be re-sealed before re-commissioning this appliance. NOTE: The 'Low Fire Screw' should be sealed with coloured paint on completion of low fire adjustment. Aeration Adjustment 1. Check / adjust the main burner aeration gap. This gap should be set to the dimensions shown in the 'Gas Specification Tables' at the end of this section. For all relevant gas specifications refer to the table at the end of this section. Open Burners Adjustment Screw 1. Remove the pot stands, burner caps and burner bodies and the pot stand supports. Refer to 'Gas Specification Tables' Flame Failure Burners 2 ±1 mm Thermocouple Location 1. Check that the thermocouple is correctly located and that the gap between the thermocouple and main burner is as shown in the diagram below. 2. Check that the thermocouple connection to the gas valve is tight. Std Burners 2. Remove injectors and replace with correct size injectors as shown in ‘Gas Specifications Tables’ at end of this section. 3. Refit the pot stand supports, pot stands, burner caps and burner bodies. 4. Re-light main burners and check flame size on simmer (LOW) position. 14 3 ±1 mm